12/04/2025 Status:
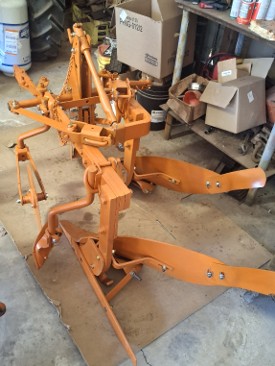
In order to complete assembling the plow, I needed two "locking" bolts that I didn't have. Dr P was sending me some, but had not received them (they may have arrived later after I left). So I made some out of stainless steel. I used some nice 1/2" "thumb" screws from McMaster-Carr. Chopped off the sides and top and hand ground to the right curvature. They actually fit the slots "better" than the originals. They are just a little long, but could shorten if it was needed.
I'm not quite happy with the way the plowshare attaches. The spacer section on one is not meeting correctly because I didn't get the bracket bent back quite right. I'll need to work on that a bit more.
I was hoping to get further along, but it was a bit chilly and I had motivation problems...:( I also had to wait for some parts. I originally intended to use stainless in strategic areas, but some of the bolts I bought were of such low quality, that they kept galling with only enough force to close the lock washer. I quashed that and got grade 8 bolts instead. Actually had to cut one off that hadn't even been tightened enough to keep the parts from sliding around. After I cut it off, I tried getting the nut off and could not putting it in a vice and using a 24 inch pipe wrench. It was firmly welded in place :(

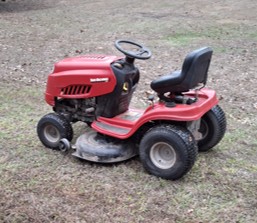
It was leaf mulching time, but all of the mowers were broken. It was about to rain, so I tried to get one of the riders going. I replaced the two deck spindles (which were probably used on another one), sharpened the blades, cleaned, and painted. I also straightened the deck wheel brackets. I moved to the engine itself, replaced the battery and got it started, but the float was sticking and dumping a huge amount of gas into the cylinder. I cleaned the carburetor but all of the rubber gaskets were deteriorated. So I ordered a new carburetor for about the same price as a gasket set. It didn't arrive until the last day of the trip when I was trying to get things cleaned up to leave.
Since it was clear I wasn't going to get the rider fixed, I went to town and bought the lowest end push mower they had and mulched the main areas. It was very wet and things didn't mulch well.
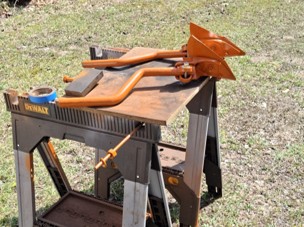
I also took some of the Dunham Lehr disc tongue and rear gang mounts to the welder to be straightened up. He straightened the tongue brackets pretty well, but was unable to straighten the angle iron sections. Couldn't get enough heat on them. I opted to have him make some replacements I'll pick up in a few weeks.
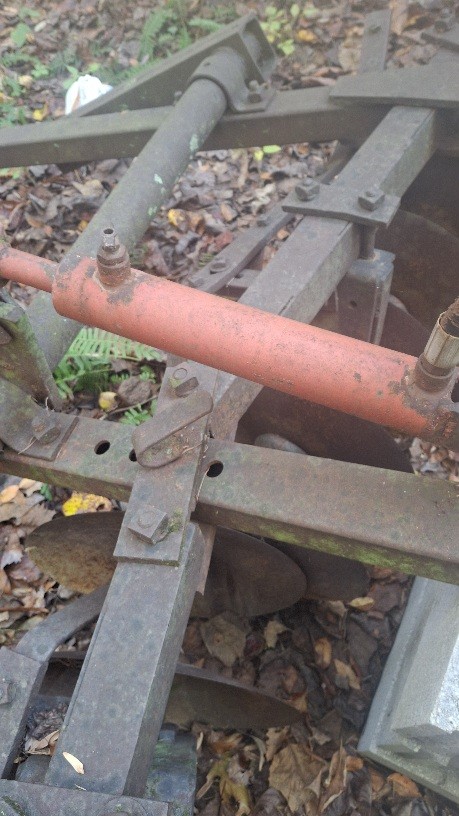
I took the hydraulic cylinder to a shop for repair. He seemed optimistic about being able to repair it (even optimistic about locating a replacement head/cap section). He can also make one if needed. It's a pretty simple design in aluminum. Hopefully, that will be ready also to be picked up in a few weeks.
I put primer on various parts so they don't rust before I get around to painting them (including the above straightened brackets).
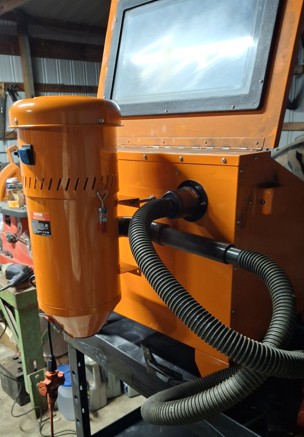
Edit: I also built a mounting system to add a vac onto the sand blast cabinet. This is the unit sold for the larger (vevor) blast cabinet. Was pretty easy to adapt. I liked it better than the small/puny one sold for this cabinet. I still can't operate it at the same time as the compressor though (inadequate supply current). I'll either have to run a long drop cord or work on getting the other leg of the 220 from the pump house to the barn. It's already probably wired, but does not seem to be energized at the pump house, which I'd have to dig up.
Edit 2: I designed some movement limiting bars for the hydraulic rams so that it's easier to use the single remote while leaving the 3pt mod in place.
Edited by dfwallis - 06 Dec 2025 at 2:27pm


 Topic Options

 Post Options
") Thanks(0)
Thanks(0)

 The better one had a G78-15 tire on it which would have been sometime in the 1970s.
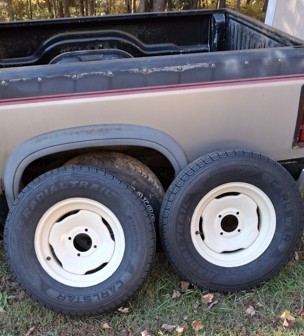


 Sugarmaker wrote: