Removing Front Wheels 400 Series
Printed From: Unofficial Allis
Category: Allis Chalmers
Forum Name: Garden Tractors
Forum Description: A great place to discuss the Simplicity and Allis Chalmers Garden Models
URL: https://www.allischalmers.com/forum/forum_posts.asp?TID=150011
Printed Date: 18 Mar 2026 at 7:33am
Software Version: Web Wiz Forums 11.10 - http://www.webwizforums.com
Topic: Removing Front Wheels 400 Series
Posted By: KHEab
Subject: Removing Front Wheels 400 Series
Date Posted: 01 May 2018 at 7:02am
|
Hey all... Well, I have a front tire on my AC410 that has a hole in it the size of NYC. This is a photo of the OTHER tire, the one WITH air.  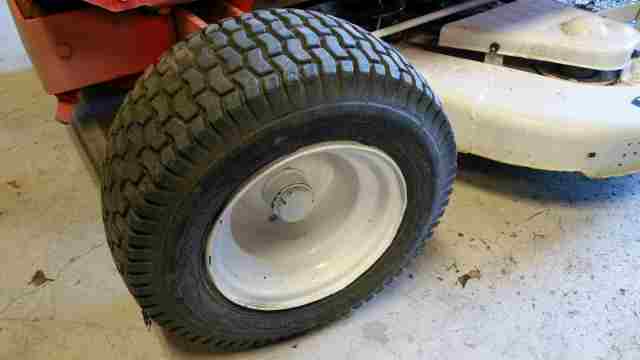 But happily, I have an AC416 from which I can steal the front tires. 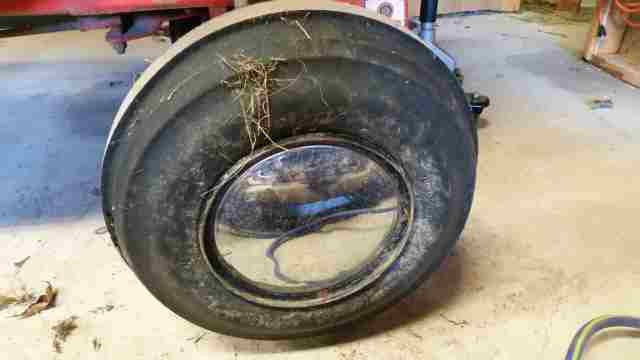 I've already swapped the rear tires between these two, which was a piece of cake. The front tires, however...oy! I have removed the cap from one of the wheels and am guessing that I'll need a puller and a pair of eye bolts (to go through the two holes in the wheel) to use as connection points for the puller. Am I correct so far? Or am I complicating or just missing things? Also, any suggestions as to how NOT to do this?  TIA |
Replies:
Posted By: Jim Hancock
Date Posted: 01 May 2018 at 9:42am
|
Hi KH The one that I've replaced started out similar to this and I found that the hub rode on a bushing and it was held in by a snap ring if I'm recalling correctly as it's been years ago. But, the good news is that it was pretty straight forward and easy after you remove that dust cap. HTH. ------------- How blessed we are by HIS GRACE! |
Posted By: KHEab
Date Posted: 01 May 2018 at 10:59am
|
Hi Jim, Thanks for the feedback. I rather figured there was a snap ring, but in looking at the "Front Axle Assembly,"  I don't see one. Rather, it looks like the "Cap," then the "Collar," with "setscrew," and then the outside bearing and cup (on the outside of the wheel, moving inward). So, I'm guessing I might still need a gear puller, and then repack the bearing, or such. Does that sound correct? And in getting the wheel back on, I know to reverse the order of these components, but will I be able to get it on (without damage) by using just a hammer? Or is there some special tool I need to re-affix the wheel? I've never done this before (not even on any of the cars I've owned) and so don't want to get into this and find out I'm not going to be able to complete it, either because I need more than just a gear puller and/or some other issue that I don't foresee. P.S. This isn't just for Jim, by the way...lol. Thanks |
Posted By: Jim Hancock
Date Posted: 01 May 2018 at 11:33am
|
KH, That's pretty much as straight forward as it gets. Unscrew the set screw to slide the collar off and you "should" be able to slide the whole assembly right off the spindle. It all should come off by hand pulling if it's been lubed any at all over the years. The inside seal may or may not come, but that's not a biggie to remove neither - just gently pull on it unless you're going to replace it. I would while it's taken down that far. While apart, clean and inspect the spindle for any burrs and fine emery strip sand them down smooth for easy sliding back on. Going back on "shouldn't" take any special tools or a hammer. Just grease everything as you go back together. With wheel and spindle in the air, push the collar on far enough to push and hold the outer bearing in it's race to remove any play and tighten down the set screw. Spin the wheel for free wheeling to a gradual stop due to loss of momentum vs. a faster stop from being too tight. If you have play, just push the collar and bearing into the race until the play is gone. You don't want the collar to come loose to let bearing become loose in the race.
------------- How blessed we are by HIS GRACE! |
Posted By: KHEab
Date Posted: 01 May 2018 at 11:52am
|
Jim, Three words: You...da...man!  Hopefully I can get to working on it tonight, and then get my money back on the puller tomorrow! Thanks for being a blessing to me, and Philippians 1:3 to you.  |
Posted By: Jim Hancock
Date Posted: 01 May 2018 at 12:17pm
You're quite welcome, and thank you!  ------------- How blessed we are by HIS GRACE! |
Posted By: KHEab
Date Posted: 01 May 2018 at 2:08pm
|
Well, I was able to get the front tires swapped. And it was going swimmingly until I got to the bad tire (you're a BAD tire...bad tire....). There was no "grease cap," which, obviously (well, not to me...at first) presented a problem. There was crapola everywhere, even inside the set screw. I was able to get the set screw loosened, but only to find the collar did NOT want to come off...no way, no how. So, I banged on it ... on the end of the spindle, that is. And then I grabbed a pair of vice (vise??) grips which allowed me to rotate the collar, but only slowly. Finally she came off. But the outside bearing and spacer were not cooperating either. Seeing as I had extra of just about everything (from the 416), I figured I could be a bit "reckless" in trying to remove those two things. And sure enough, a bit of that and both those were off. But I could feel a really rough spot near the end of the spindle. (I'm sure not having the grease cap was to blame.) I did a bit of sanding but realized that the assembly was not going to go easily. I tried another two spacers and bearings, but none of those would go on any more easily (darned tolerances). So, back to the original, which I was able to get to go past that rough spot (with a bit of help from a hammer) and then the rest was pretty easy. She seems to be working fine as I finished up the rest of the lawn (only about 5% of it was left). That's my story, and once more I just wanted to thank Jim for his kind help, and for this forum. |