| Author |
 Topic Search Topic Search  Topic Options Topic Options
|
steigerbro24 
Orange Level

Joined: 26 Jul 2010
Location: Racine Wi
Points: 283
|
 Post Options Post Options
") Thanks(0) Thanks(0)
 Quote Quote  Reply Reply
 Topic: Model b spark plug wires mistake Topic: Model b spark plug wires mistake
Posted: 04 Aug 2011 at 6:28pm |
|
Today I took my spark plugs wires off to clean them and make sure they were working right. This is one of the DUMBEST things I can do because whenever I touch the wiring I screw it up and I should have taken them off ONE AT A TIME. After I put it back together it wouldn't start. I assumed that they weren't in the right order so I fiddled with it and eventually called my friend who works with red tractors but helps me none the less. After messing around with them for an hour I finally got them back in order but now my tractor sounds like it is running rougher and it was missing when I was pulling my moms camper. None of that was doing that when I ran it earlier today and when I was towing tractors last week. Is it possible that my timing is off now and all I need to do is twist the distributor until it is running better.
|
 |
|
Sponsored Links
|
|
|
Dick L
Orange Level

Joined: 12 Sep 2009
Location: Edon Ohio
Points: 5082
|
Post Options
Thanks(0)
Quote Reply
Posted: 04 Aug 2011 at 8:24pm |
Probly still have wires crossed. Firing order is 1-2-4-3
|
|
kffischer
Silver Level

Joined: 26 Feb 2011
Location: mn
Points: 121
|
Post Options
Thanks(0)
Quote Reply
Posted: 04 Aug 2011 at 8:52pm |
ditto on wires crossed. You probably have 1 and 4 right, try switchin 2 and 3. The "red tractor" reference clued me in, as they have the other 4 cylinder firing order. do NOT touch your timing!!! if it was running fine before, it is NOT a timing issue!
always mark #1 on the cap (some are marked for you when molded--90% correct due to field repairs), Note the rotation direction of the rotor, and you can always put tape on the wires. #1 is closest to the radiator 90% of the time.
karl f
|
|
steigerbro24
Orange Level
Joined: 26 Jul 2010
Location: Racine Wi
Points: 283
|
Post Options
Thanks(0)
Quote Reply
Posted: 05 Aug 2011 at 7:17pm |
|
I was thinking that but when I look at the cylinders it looks like both cylinders 2 and 3 are in the same position
|
|
steigerbro24
Orange Level
Joined: 26 Jul 2010
Location: Racine Wi
Points: 283
|
Post Options
Thanks(0)
Quote Reply
Posted: 05 Aug 2011 at 7:29pm |
|
Ok when I switched them the engine didn't start but only made a big bang and flame came out of the straight pipe I have on there. I tried to move the distributor but that didn't do anything and since we are talking about distributors and wires my tractor has a vertical distributor on it could that make it different. My only other thought is that before any of this one of the wires weren't on all the way and one of the cylinders wasn't firing b and the rough running is just all the cylinders firing but I really doubt that
|
|
Chalmersbob
Orange Level
Joined: 11 Sep 2009
Location: Pennsylvania
Points: 2122
|
Post Options
Thanks(0)
Quote Reply
Posted: 05 Aug 2011 at 8:53pm |
Usually the front post closest to the engine is # 1, then go clockwise around the cap. 1243. This being said, someone could have set it up differently. Remove the plug closest to the radiator, #1 and hand crank the engine with your thumb in the plug hole, until you feel air being pushed out of the cylinder. Look through the inspection hole on the left side of the torque tube, and watch for "fire" on the fltwheel. Then remove your distributor cap and look where the rotor is pointing. That would be #1, then start there and install the wires as stated. Bob
|
|
dad2many
Silver Level
Joined: 19 Jun 2011
Location: NC
Points: 104
|
Post Options
Thanks(0)
Quote Reply
Posted: 06 Aug 2011 at 10:31am |
|
If the wires got crossed and was ran "rough" for any length of time, you likely fouled a plug or two. Usually the simple fix is the problem. i suggest new plugs. If it ran great before, it will run great again.Always remember "simple solutions first".
|
|
DaveKamp
Orange Level Access
Joined: 12 Apr 2010
Location: LeClaire, Ia
Points: 5657
|
Post Options
Thanks(0)
Quote Reply
Posted: 06 Aug 2011 at 2:05pm |
 kffischer wrote: kffischer wrote:
do NOT touch your timing!!! if it was running fine before, it is NOT a timing issue!
|
Bob- read this part again, and stamp on your foot really hard. When people do this kind of thing, all it does, is takes a simple problem, and complicates the heck out of it. On inline fours, two pistons are up, when the other two are down. One fires while the other is on the exhaust/intake stroke. Cylinders are counted from front (radiator end) to back, and the Allis firing order is somewhat unique- most run 1-4-3-2, but Allis went 1-2-4-3. By doing this, they avoided having adjacent cylinders 'steal' intake and exhaust charge pulses. In large part, the Allis motor owes it's running disposition the the engineers' choice of firing order to camshaft profile and intake/exhaust tuning. One of the interesting things about swapping plug wires, is that as long as you have 1-4 correct, or 2-3 correct, it'll run on two of the four cylinders. The other two will bark and pop as air-fuel is barf'd out of the two non-firing cylinders into the exhaust path. Might blow apart the muffler, so don't do this too much. you probably have a fouled plug or three, and there's a good chance you've got a bad plug wire that's shorting somewhere. Wait 'till dark, and then fire it up... pay close attention to the oil-filter area- if you have a bad wire on 3 or 4, it might be arcing to it. Also, your ignition system isn't a magneto, but for future reference, running with a plug disconnected is pretty hard on a magneto's coil insulation, and it's best to use solid-core plug wires and non-resistor plugs. You CAN get carbon-tracking inside the distributor cap, which oftentimes shunts a plug tower to ground, and sometimes, to an adjacent plug. Try this: Disconnect the wire coming out of the coil, run it to a spark plug, set the plug against the block, and look for a spark while cranking. If you don't have good, solid, regular spark, you probably have a condenser or coil that's failed. Not highly likely, but possible that in the process of 'fiddling', that you wound up with an open plug connection, and the spark energy found shorter return path through coil insulation, points, or condenser, and now it ain't carrying current right.
Edited by DaveKamp - 06 Aug 2011 at 2:14pm
|
|
Dick L
Orange Level
Joined: 12 Sep 2009
Location: Edon Ohio
Points: 5082
|
Post Options
Thanks(0)
Quote Reply
Posted: 06 Aug 2011 at 5:17pm |
|
If you moved the distributor it might do you well to find and get the TDC line in the center of the inspection hole, get the rotor to point to the number one wire terminal then rotate the distributor back and fourth to see that the points are just ready to open. That would have it timed to run. With the engine running you would then see the FIRE line in the center of the inspection hole.
|
|
steigerbro24
Orange Level
Joined: 26 Jul 2010
Location: Racine Wi
Points: 283
|
Post Options
Thanks(0)
Quote Reply
Posted: 07 Aug 2011 at 3:12pm |
I should have mentioned that the plugs, plug wires and the rotor and condenser were replaced last spring (which required a visit from my friend to fix what I messed up). When I looked at the wires on the distributor cap #1 wire wasn't the closest to the radiator. Another thing where is this inspection hole on the left side of the torque tube? Is it where my starter is sitting?
|
|
steigerbro24
Orange Level
Joined: 26 Jul 2010
Location: Racine Wi
Points: 283
|
Post Options
Thanks(0)
Quote Reply
Posted: 07 Aug 2011 at 3:38pm |
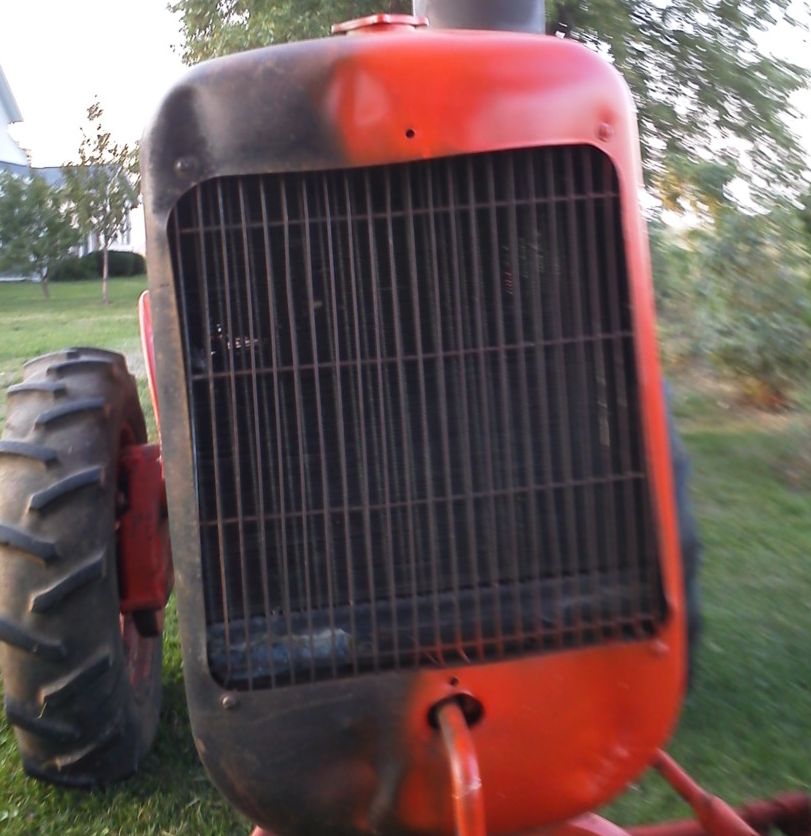
 This is what my distributor looks like. The plug wire on the right up front is the wire that goes to the #1 cylinder. It is in a different location from what everyone has been saying but that is where it is supposed to be. Then the wires go clockwise as 1 2 4 3 which is what it is supposed to do but the engine will only make a bang and not start. This is what my distributor looks like. The plug wire on the right up front is the wire that goes to the #1 cylinder. It is in a different location from what everyone has been saying but that is where it is supposed to be. Then the wires go clockwise as 1 2 4 3 which is what it is supposed to do but the engine will only make a bang and not start.
|
|
JimD
Orange Level
Joined: 11 Sep 2009
Location: Mounds, OK
Points: 2100
|
Post Options
Thanks(0)
Quote Reply
Posted: 07 Aug 2011 at 4:21pm |
Here's how I time them when it's screwed up or didn't have wires when I started the process. Pull all 4 plugs and wires,Stick your finger in #1 hole, and have someone hand crank it slowly. Pay attention to when it compresses the air on your finger compared to the rotation on the hand crank. Try to note the maximum compression spot before it starts releasing. That's "about" top dead center for that cylinder. Now look to see where your rotorbug under the cap is pointing. Rotate the distributor (the bug will stay put) to where it would have just passed one of the posts if the cap were on. That's now the #1 post. Put the cap on, and put on #1's wire. Going clockwise if you were looking down at the cap, put the next wire on the post, and it goes to #2, then the next to #4, and last #3. This will let you get started. You may need to tweak timing clockwise or counter a bit to get it to fire, but if you go so far that you have rotated to the next post, it's too far. Once running, bring to 1/4 throttle or so, and adjust the twist on the distributor for smoothest sound. You are now reasonably timed. I go further and go to full throttle (which is actually about 1/2 since you have a governer) and do fine tune. But I always back the timing from the center of the best sound back clockwise just until I hear a change, and then split the difference. Too far advanced and you will have excessive heat, and pinging under load, to retarded and loss of power and eventually barking out the exhaust.
Edited by JimD - 07 Aug 2011 at 4:22pm
|
Owner of OKtractor.com PM for an instant response on parts. Open M-F 9-6 Central. We have new and used parts. 877-378-6543
|
|
pumpkinman
Orange Level

Joined: 20 Jul 2011
Location: S.E. Michigan
Points: 252
|
Post Options
Thanks(0)
Quote Reply
Posted: 07 Aug 2011 at 4:33pm |
|
the timeing hole is on the left side your starter is on the right side looking forwerd the same as your car or truck. pull the plugs out - get some one to help you. your wife can do this. shine a flash lite in the hole , turn the eng. over slowly till the mark comes in to the hole [ frist one may say fire , the second one may say center or just a line. mark the line with a chalk or soapstone. look at dist. wher the rotor is pointing make a note of this, then turn the eng. over agin till the mark comes up agin make note of wher rotor is pointing this time. now you have two places to start from [one is right - one is 180 off. ] the do as chalmersbob told you to do with your thumb when you get presure look at rotor if it ran befor you mest with the wires and havent mest with the dist. it will run agin.
|
|


