This site is not affiliated with AGCO Inc., Duluth GA., Allis-Chalmers Co., Milwaukee, WI., or any surviving or related corporate entity. All trademarks remain the property of their respective owners. All information presented herein should be considered the result of an un-moderated public forum with no responsibility for its accuracy or usability assumed by the users and sponsors of this site or any corporate entity. | ||||||
The Forum | Parts and Services | Unofficial Allis Store | Tractor Shows | Serial Numbers | History |
Front Crankshaft Seal |
Post Reply | Page <1 234 |
Author | |
Allis Wd45
Bronze Level Joined: 06 Nov 2017 Location: Washington Points: 165 |
Post Options
Thanks(0)
|
Chris, I will post a picture of the oil pan. I believe I am thinking of the reinforcements that are welded to the pan. Do you just use a soup can to form the end gasket size or how big is the can?
|
|
Sponsored Links | |
Sugarmaker
Orange Level Joined: 12 Jul 2013 Location: Albion PA Points: 8168 |
Post Options
Thanks(0)
|
Allis Wd45,
I didnt have any used clips. So I had to get new ones. Maybe Don or Dr Allis could comment. I think If I had used ones and they looked good and not deformed that they should work as good as new ones. I mean these are only a aid to keeping the front gasket in place while you lift it in place. So that it doesn't get out of location. Not sure what you mean by something between the oil pan and bolts on the side rails.?? Oh I think I know what you mean there is a reinforcement piece/ strip on the pan. Lets see if I have a picture? This stiffiner is welded to the oil pan. Good idea to re-flaten any bolt hole area that has been over torqued and dimpled in towards the engine. Dr. Allis has a good method and I used similar techniques to adhere the side gaskets to the block first. Here is how I preformed the end gaskets. This may be a little tough to see but I built a plate with same hole pattern as the pan this clamped the gasket to the block while the Indian head gasket material dried and held the gasket to the block. Also note the two guide pins to help align the pan during assembly. Regards, Chris |
|
D17 1958 (NFE), WD45 1954 (NFE), WD 1952 (NFE), WD 1950 (WFE), Allis F-40 forklift, Allis CA, Allis D14, Ford Jubilee, Many IH Cub Cadets, 32 Ford Dump, 65 Comet.
|
|
Allis Wd45
Bronze Level Joined: 06 Nov 2017 Location: Washington Points: 165 |
Post Options
Thanks(0)
|
Chris, would I have to buy the new seal retainer clips or can I reuse the old ones? It looks to me like there is something between the oil pan and bolts on the side rails.
|
|
DrAllis
Orange Level Access Joined: 12 Sep 2009 Points: 19601 |
Post Options
Thanks(0)
|
When I know I'm going to do oil pan gaskets on one of those, I plan ahead. I place the arch gaskets inside a piston ring compressor for a few days to make them take shape. Have the ring compressor set small enough that the gasket ends just touch. Use fresh 3M brand #8001 yellow weather strip glue and attach the side gaskets to the engine and let dry. When pan installation time comes, clip the arch gaskets on the pan after lightly rubbing RTV on both sides of them. Lightly rub the same RTV all over the side gaskets and leave a daub at the 4 places each of the arch gaskets will touch. Use a speed handle to gently and slowly snug up all the pan bolts drawing them down evenly. I never get too tight on any pan bolt and let things cure overnite and them give all the bolts an extra tweak in the morning. Having the side gaskets already securely glued to the engine makes this job easy and leak free.
|
|
Sugarmaker
Orange Level Joined: 12 Jul 2013 Location: Albion PA Points: 8168 |
Post Options
Thanks(0)
|
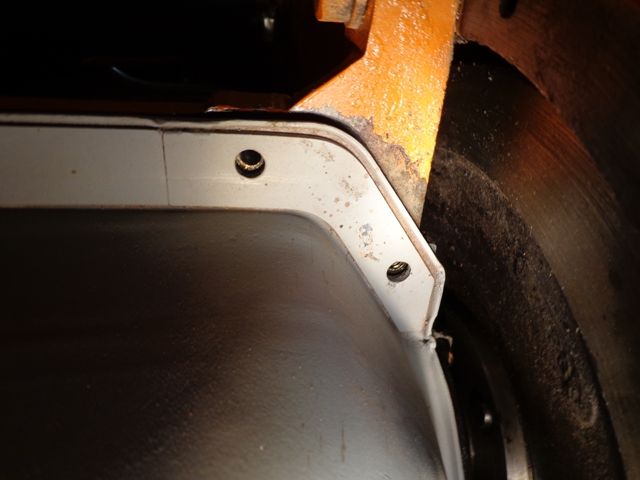
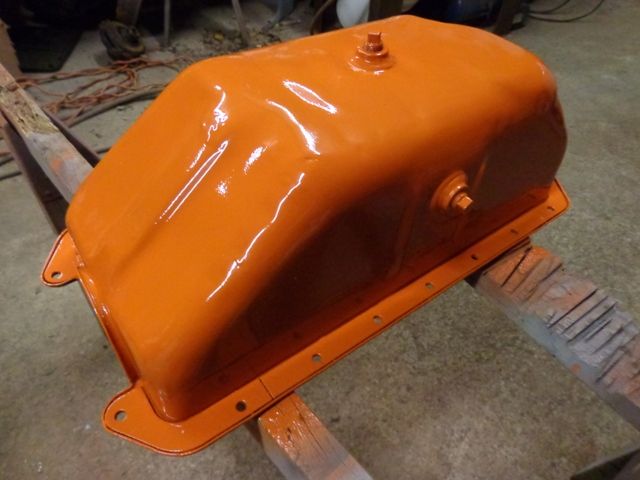
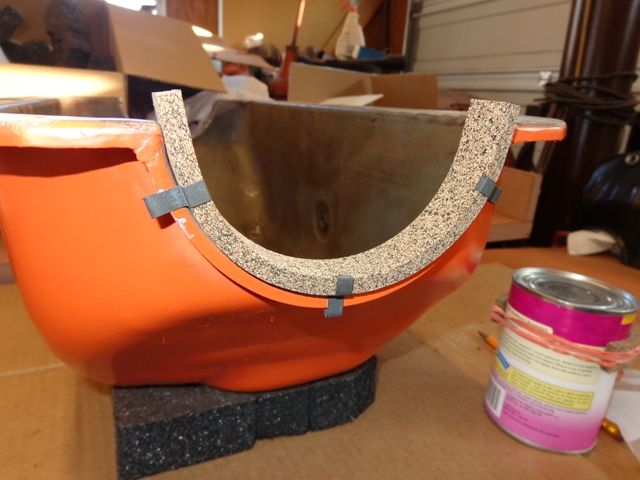
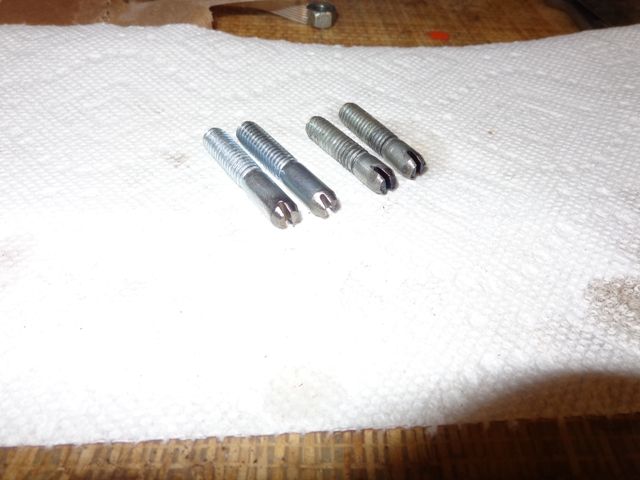
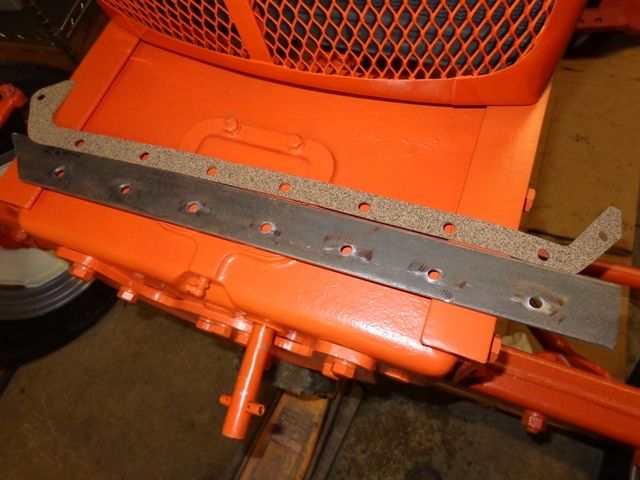
I understand about pulling the engine too. I did two of these per Dons instructions standing on my head. Both reduced the leaking in the front but I still have some rear seal issues. Its not easy to do in the tractor but not impossible. I spent time making sure the pan was straight when it went back on. Used the clips for the front seal. Didn't cut any seals, put a little sealant only where recommended, used the "F" shaped gaskets at the rear. Also made and used the pin guides to help position the pan on re assembly. Took me several days. Also made some plates to support and align the pan gaskets while the got set up.
To do the front crank seal you need to take the radiator and sheet metal off. (That is almost as much work as pulling the engine.) You have to remove the hand crank assembly IIRC? 
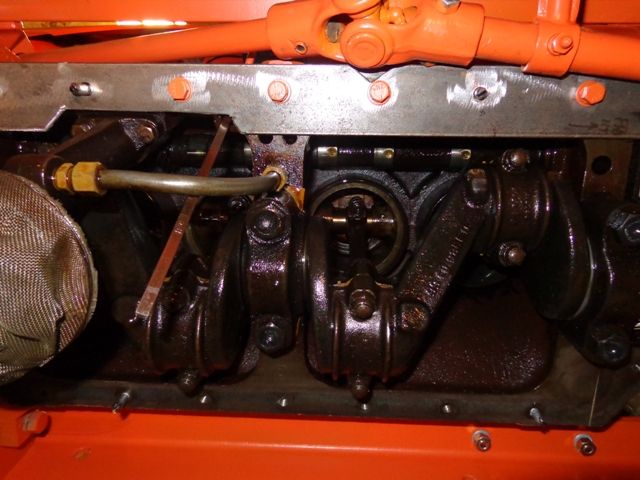
Anyway with that off, and the crank pulley off. you can remove the front crank seal. A seal puller works good. You might consider a speedy sleeve on the crank to cover the spiral grooves which were for the old felt type seals. The new seal will probably be a rubber lip seal type. Guys jump in and correct me here, its been a few days since I put one in. Now that I think about it you may need to pull the front timing cover and then put the speedy sleeve on? That may be why one of mine is leaking? Bottom line is there is not a real quick and easy fix for these leaks. By the time you have all this stuff off the tractor and engine. I think you have about 4 bolts and some linkage to remove and the engine can come out and be rolled upside down and or much better access to the crank, to do this work in a better easier fashion. Sorry for being long winded. Maybe it helps? I have one that is going to leak a little till someone in the future tears it apart. I have a bunch of pictures if it would help you? Regards, Chris Edited by Sugarmaker - 01 Jan 2019 at 1:50pm |
|
D17 1958 (NFE), WD45 1954 (NFE), WD 1952 (NFE), WD 1950 (WFE), Allis F-40 forklift, Allis CA, Allis D14, Ford Jubilee, Many IH Cub Cadets, 32 Ford Dump, 65 Comet.
|
|
Allis Wd45
Bronze Level Joined: 06 Nov 2017 Location: Washington Points: 165 |
Post Options
Thanks(0)
|
Ok if it’s going I require the engine to be pulled I’m going to leave it a lone. I don’t want to get that far into it.
|
|
WF owner
Orange Level Joined: 12 May 2013 Location: Bombay NY Points: 4431 |
Post Options
Thanks(0)
|
Do yourself a favor. Remove the engine and put it on a stand to do the replacement. It sounds like a lot more work, but it will be much easier in the end.
Here's a link to a video that Don Bradley did. He is a very well respected AC mechanic that posts on here. It can be found in the Knowledge Base Section of the forum. I think the video will answer all your questions. |
|
Allis Wd45
Bronze Level Joined: 06 Nov 2017 Location: Washington Points: 165 |
Post Options
Thanks(0)
|
The Front Crankshaft Seal and oil pan gasket are Leaking on my WD45. What all has to be taken off to replace the front main seal. How do you remove the old seal when you take the timing cover off? What all has to come out of the governor? How do you take it out and keep it in time? Can the seal be replaced with the timing cover on the tractor. I’ve read in other forums that you have to have the seal centered on the Crankshaft how do you do that? Also how do you remove the timing cover from the front engine support? Do you have to jack the engine up when you unbolt it from the support?
Thanks for the help. I want an idea of what I need to look for before I tear into the engine. |
|
Post Reply | Page <1 234 |
Tweet
|
Forum Jump | Forum Permissions You cannot post new topics in this forum You cannot reply to topics in this forum You cannot delete your posts in this forum You cannot edit your posts in this forum You cannot create polls in this forum You cannot vote in polls in this forum |