| Author |
 Topic Search Topic Search  Topic Options Topic Options
|
ShellJ 
Bronze Level

Joined: 29 Oct 2021
Location: 64747
Points: 35
|
 Post Options Post Options
") Thanks(0) Thanks(0)
 Quote Quote  Reply Reply
 Topic: D12 carburetor float adjustment Topic: D12 carburetor float adjustment
Posted: 27 Nov 2021 at 2:23am |
|
So I'm putting the carburetor back together and am stuck at measuring/adjusting the float. It is as original, was very careful not to bump or bend it when disassembling and cleaning. The manual says the float should be set 1 5/32" from housing surface to bottom of float while inverted, with no gasket installed. To me it's very hard to measure with the included "ruler" but mine looks to be about 1 and 7/32 to 8/32. Eyeballing it as some posts have described, the top of the float is not level with the housing surface (again, while inverted). Am I better to just use the eyeball level, or keep trying to measure with the silly paper ruler? Does anybody know what the distance should be between the float and surface? Seems this would be much easier to measure. How important to get the measurements exactly perfect?
What I'm also worried about is how to adjust the level once I know where to set it. Tiny needle nose pliers? Where to bend exactly? How to get each pontoon perfectly aligned?
Im probably over thinking this, but I want to get it right and not have to take it apart again. Any input would be much appreciated!
|
 |
|
Sponsored Links
|
|
|
DiyDave
Orange Level Access


Joined: 11 Sep 2009
Location: Gambrills, MD
Points: 50558
|
Post Options
Thanks(0)
Quote Reply
Posted: 27 Nov 2021 at 4:39am |
|
Was it running good the way it was?
|
|
Source: Babylon Bee. Sponsored by BRAWNDO, its got what you need!
|
|
DrAllis
Orange Level Access
Joined: 12 Sep 2009
Points: 19552
|
Post Options
Thanks(0)
Quote Reply
Posted: 27 Nov 2021 at 6:44am |
|
Eyeball it level when held upside down. Ran fine before. Will run fine again.
|
|
ShellJ
Bronze Level
Joined: 29 Oct 2021
Location: 64747
Points: 35
|
Post Options
Thanks(0)
Quote Reply
Posted: 27 Nov 2021 at 3:06pm |
|
It ran fine before, except when the carb got junk in it. Was no screen in sediment bowl and just no maintenance in general for years. I managed to bend the float arms just slightly so it looks level. Checked the gap with a 3/16 drill bit to make sure they're even. Will post the results when I get it back on the tractor.
|
|
ShellJ
Bronze Level
Joined: 29 Oct 2021
Location: 64747
Points: 35
|
Post Options
Thanks(0)
Quote Reply
Posted: 29 Nov 2021 at 12:06am |
|
One more quick question. When I screw the fuel inlet elbow back on, it ends up facing the wrong way when tight. I've read not to use Teflon tape to "build it up". Also read that forcing it that last 180 degrees beyond tight will likely damage the fitting or carb inlet threads. So how to get it sealed and pointing in the right direction? I have blue monster thread sealer and yellow Teflon tape. Will blue monster alone seal the threads even if it's not completely tight? Like coat it good, screw it in to where it's pointing rearward, and let it set up for a day?
|
|
DiyDave
Orange Level Access
Joined: 11 Sep 2009
Location: Gambrills, MD
Points: 50558
|
Post Options
Thanks(0)
Quote Reply
Posted: 29 Nov 2021 at 4:35am |
A new elbow may solve the problem. I use a little permatex hardening type sealer... 
|
|
Source: Babylon Bee. Sponsored by BRAWNDO, its got what you need!
|
|
Ed (Ont)
Orange Level

Joined: 08 Nov 2009
Location: New Lowell, Ont
Points: 1222
|
Post Options
Thanks(1)
Quote Reply
Posted: 29 Nov 2021 at 5:17pm |
|
In this case you could use a bit of teflon tape to tighten up the threads a bit. Just start the tape a bit away from leading edge of thread to make sure nothing gets in the carb. Should solve the problem.
|
|
ShellJ
Bronze Level
Joined: 29 Oct 2021
Location: 64747
Points: 35
|
Post Options
Thanks(0)
Quote Reply
Posted: 04 Dec 2021 at 9:59pm |
|
Got the elbow tight and ready to put everything back together. Now, I started this project months ago, as a simple carb rebuild. But it turned into total cleaning, some painting, fixing lights and gauge, etc. Now I'm back tracking through the manual in preparation for reassembly, and it mentions in the carb removal section "disconnect choke rod and spring". I don't recall a spring, I don't have a spring, it's been so many months I don't remember removing any spring on the choke. Is there a spring? Seems the rod is just straight push/pull. Not sure where a spring would be involved. Did I lose a spring? 😂
|
|
DiyDave
Orange Level Access
Joined: 11 Sep 2009
Location: Gambrills, MD
Points: 50558
|
Post Options
Thanks(0)
Quote Reply
Posted: 05 Dec 2021 at 4:16am |
IIRR, the choke return spring attaches to the linkage, near the front of the rod, and hooks to one of the manifold nuts. Its a very light spring, and that close to the exhaust, subject to rusting and breakage. IMHO, it can be run without it...
|
|
Source: Babylon Bee. Sponsored by BRAWNDO, its got what you need!
|
|
IBWD MIke
Orange Level

Joined: 08 Apr 2012
Location: Newton Ia.
Points: 3460
|
Post Options
Thanks(0)
Quote Reply
Posted: 05 Dec 2021 at 9:05am |
Shell, I think Dave is spot on. I will check today and see if mine have a spring or not, guessing not.
Wd's and 45's did have them I believe. Mine do not, like it that way as you can leave the choke partially on for warm-up purposes.
Edit; Silly me, thought this was about a CA! I have no D-series to check.
Edited by IBWD MIke - 05 Dec 2021 at 9:07am
|
|
SteveM C/IL
Orange Level Access
Joined: 12 Sep 2009
Location: Shelbyville IL
Points: 8005
|
Post Options
Thanks(0)
Quote Reply
Posted: 05 Dec 2021 at 11:26am |
|
Late to the party but it seems most carbs floats are adjusted by bending tang that touches needle not bending arms....not familiar with your carb so may not apply.
|
|
Fred in Pa
Orange Level
Joined: 13 Sep 2009
Location: Hanover Pa.
Points: 9106
|
Post Options
Thanks(0)
Quote Reply
Posted: 06 Dec 2021 at 6:09am |
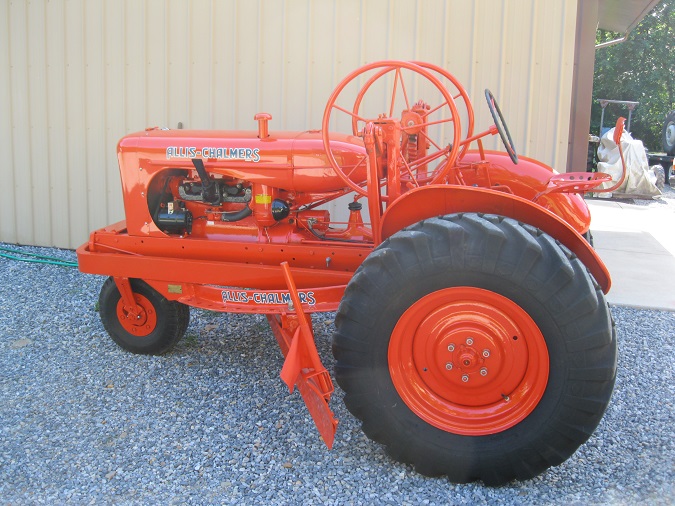
Here is choke spring on my grandsons D 12 Green hooks a hole on generator bracket , red choke rod .
|
|
He who dies with the most toys is,
nonetheless ,still dead.
If all else fails ,Read all that is PRINTED.
|
|
ShellJ
Bronze Level
Joined: 29 Oct 2021
Location: 64747
Points: 35
|
Post Options
Thanks(0)
Quote Reply
Posted: 06 Dec 2021 at 3:15pm |
|
After seeing that picture, I definitely didn't have a spring on mine. Guess it's not really needed?
|
|


