| Author |
 Topic Search Topic Search  Topic Options Topic Options
|
jbirnsch 
Bronze Level

Joined: 02 Jun 2010
Location: Egg Harbor, WI
Points: 78
|
 Post Options Post Options
") Thanks(0) Thanks(0)
 Quote Quote  Reply Reply
 Topic: WC repower and paint Topic: WC repower and paint
Posted: 19 Jul 2017 at 7:22pm |
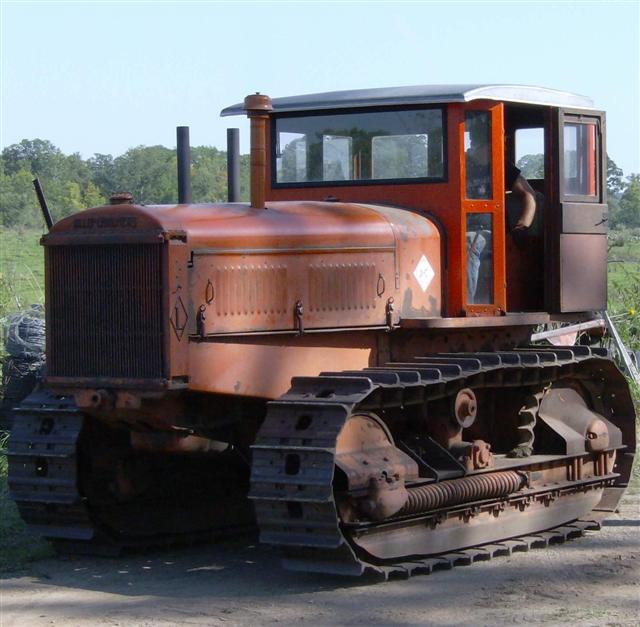
WC is getting a Gleaner E combine engine repower.

I bought VanSickle 172 Gloss AC Orange acrylic enamel paint. Will it matter much on having exact paint color? Its not like the tractor is original. Its not the first WC my grandpa bought either. The first WC he bought didn't have PTO but had a lift type system installed by the transmission disconnect box. He traded that one in on a WD. This WC was picked up at auction some years later and has PTO. He added a pull rod for the starter instead of foot start for the starter. He also put on a seat and seat suspension from an old 10-20. I plan to add hydraulic pump (used on the Gleaner E) were the alternator is and move a mini 40A alternator up near the valve cover under the hood. Still needs lots of work yet.
I had to make a new shaft that went into the steering box. It was broke off at some point and a new hole was drilled into the shaft for the u joint. This hole was slopped out and so was the u joint and support block. I made a new shaft. Knurled the end where the timken bearings were seated. I bored out the steering shaft support block and u joint to 7/8". I turned a bushing and brazed that into the steering shaft support block. I also turned a bushing for the universal joint end and drilled a new hole 90 degrees off for a roll pin. Steering slop went from 3/4 turn to less that 1/8 turn. I could have bought a new u joint but for the 5 to 10 hours a year of use it wasn't justified.
Edited by jbirnsch - 19 Jul 2017 at 7:26pm
|
 |
|
Sponsored Links
|
|
|
steve(ill)
Orange Level Access


Joined: 11 Sep 2009
Location: illinois
Points: 88237
|
Post Options
Thanks(0)
Quote Reply
Posted: 19 Jul 2017 at 7:38pm |
|
as you do more work, keep adding photos to THIS post so we can see the progress !! What is the HP rating on the gleaner motor ?
|
|
Like them all, but love the "B"s.
|
|
Sugarmaker
Orange Level

Joined: 12 Jul 2013
Location: Albion PA
Points: 8534
|
Post Options
Thanks(0)
Quote Reply
Posted: 19 Jul 2017 at 8:55pm |
|
Good shot of your project tractor. Any mods to the Gleaner engine to get it to fit?
Would be a nice upgrade in one of my WD's.
Keep us posted.
Regards,
Chris
|
|
D17 1958 (NFE), WD45 1954 (NFE), WD 1952 (NFE), WD 1950 (WFE), Allis F-40 forklift, Allis CA, Allis D14, Ford Jubilee, Many IH Cub Cadets, 32 Ford Dump, 65 Comet.
|
|
jbirnsch
Bronze Level
Joined: 02 Jun 2010
Location: Egg Harbor, WI
Points: 78
|
Post Options
Thanks(0)
Quote Reply
Posted: 19 Jul 2017 at 10:19pm |
|
This is a G226 M coded engine. Same specs as a D17 engine but I have a WD governor weighted spring in it which should tame it down a bit by lowering the RPM. With a D17 carb and governor spring max HP is 52HP
So far for changes to make it work I made a cover for the fuel pump hole on the side. I had to bore out the front crank pulley deeper because the front nose of the crank is longer. The water pump holes need to be drilled bigger to fit. Needed to drill/tap the manifold for the muffler support bracket. I needed to add the throttle lever in the timing cover. There was a plug I needed to remove to add the bushing and shaft seal for the throttle shaft. The top adjustment screw hole in the timing cap was plugged with a carriage bolt that was ground down. This was where the max speed was set on the combine as it was designed for Wide open throttle use.
I added a WD45 distributor. It has a WD carb on it since the WC carb was damaged by water in the bowl and froze. It needed a new clutch and ring gear. The ring gear was shot as it was already turned 90 degrees and the clutch was down to the rivets.
The engine was free ($0) but needed work. The head gasket was blown. I removed the head and cleaned it up. The valves needed to be ground and there was pitting in 2 of the exhaust seats. I have a B&D valve grinder and Souix seat grinder. I touched up the valves and ground the seats. First time I ever did this kind of work. Hope I got it right.
|
|
jbirnsch
Bronze Level
Joined: 02 Jun 2010
Location: Egg Harbor, WI
Points: 78
|
Post Options
Thanks(0)
Quote Reply
Posted: 19 Jul 2017 at 10:40pm |
Picture of one of the exhaust valves. 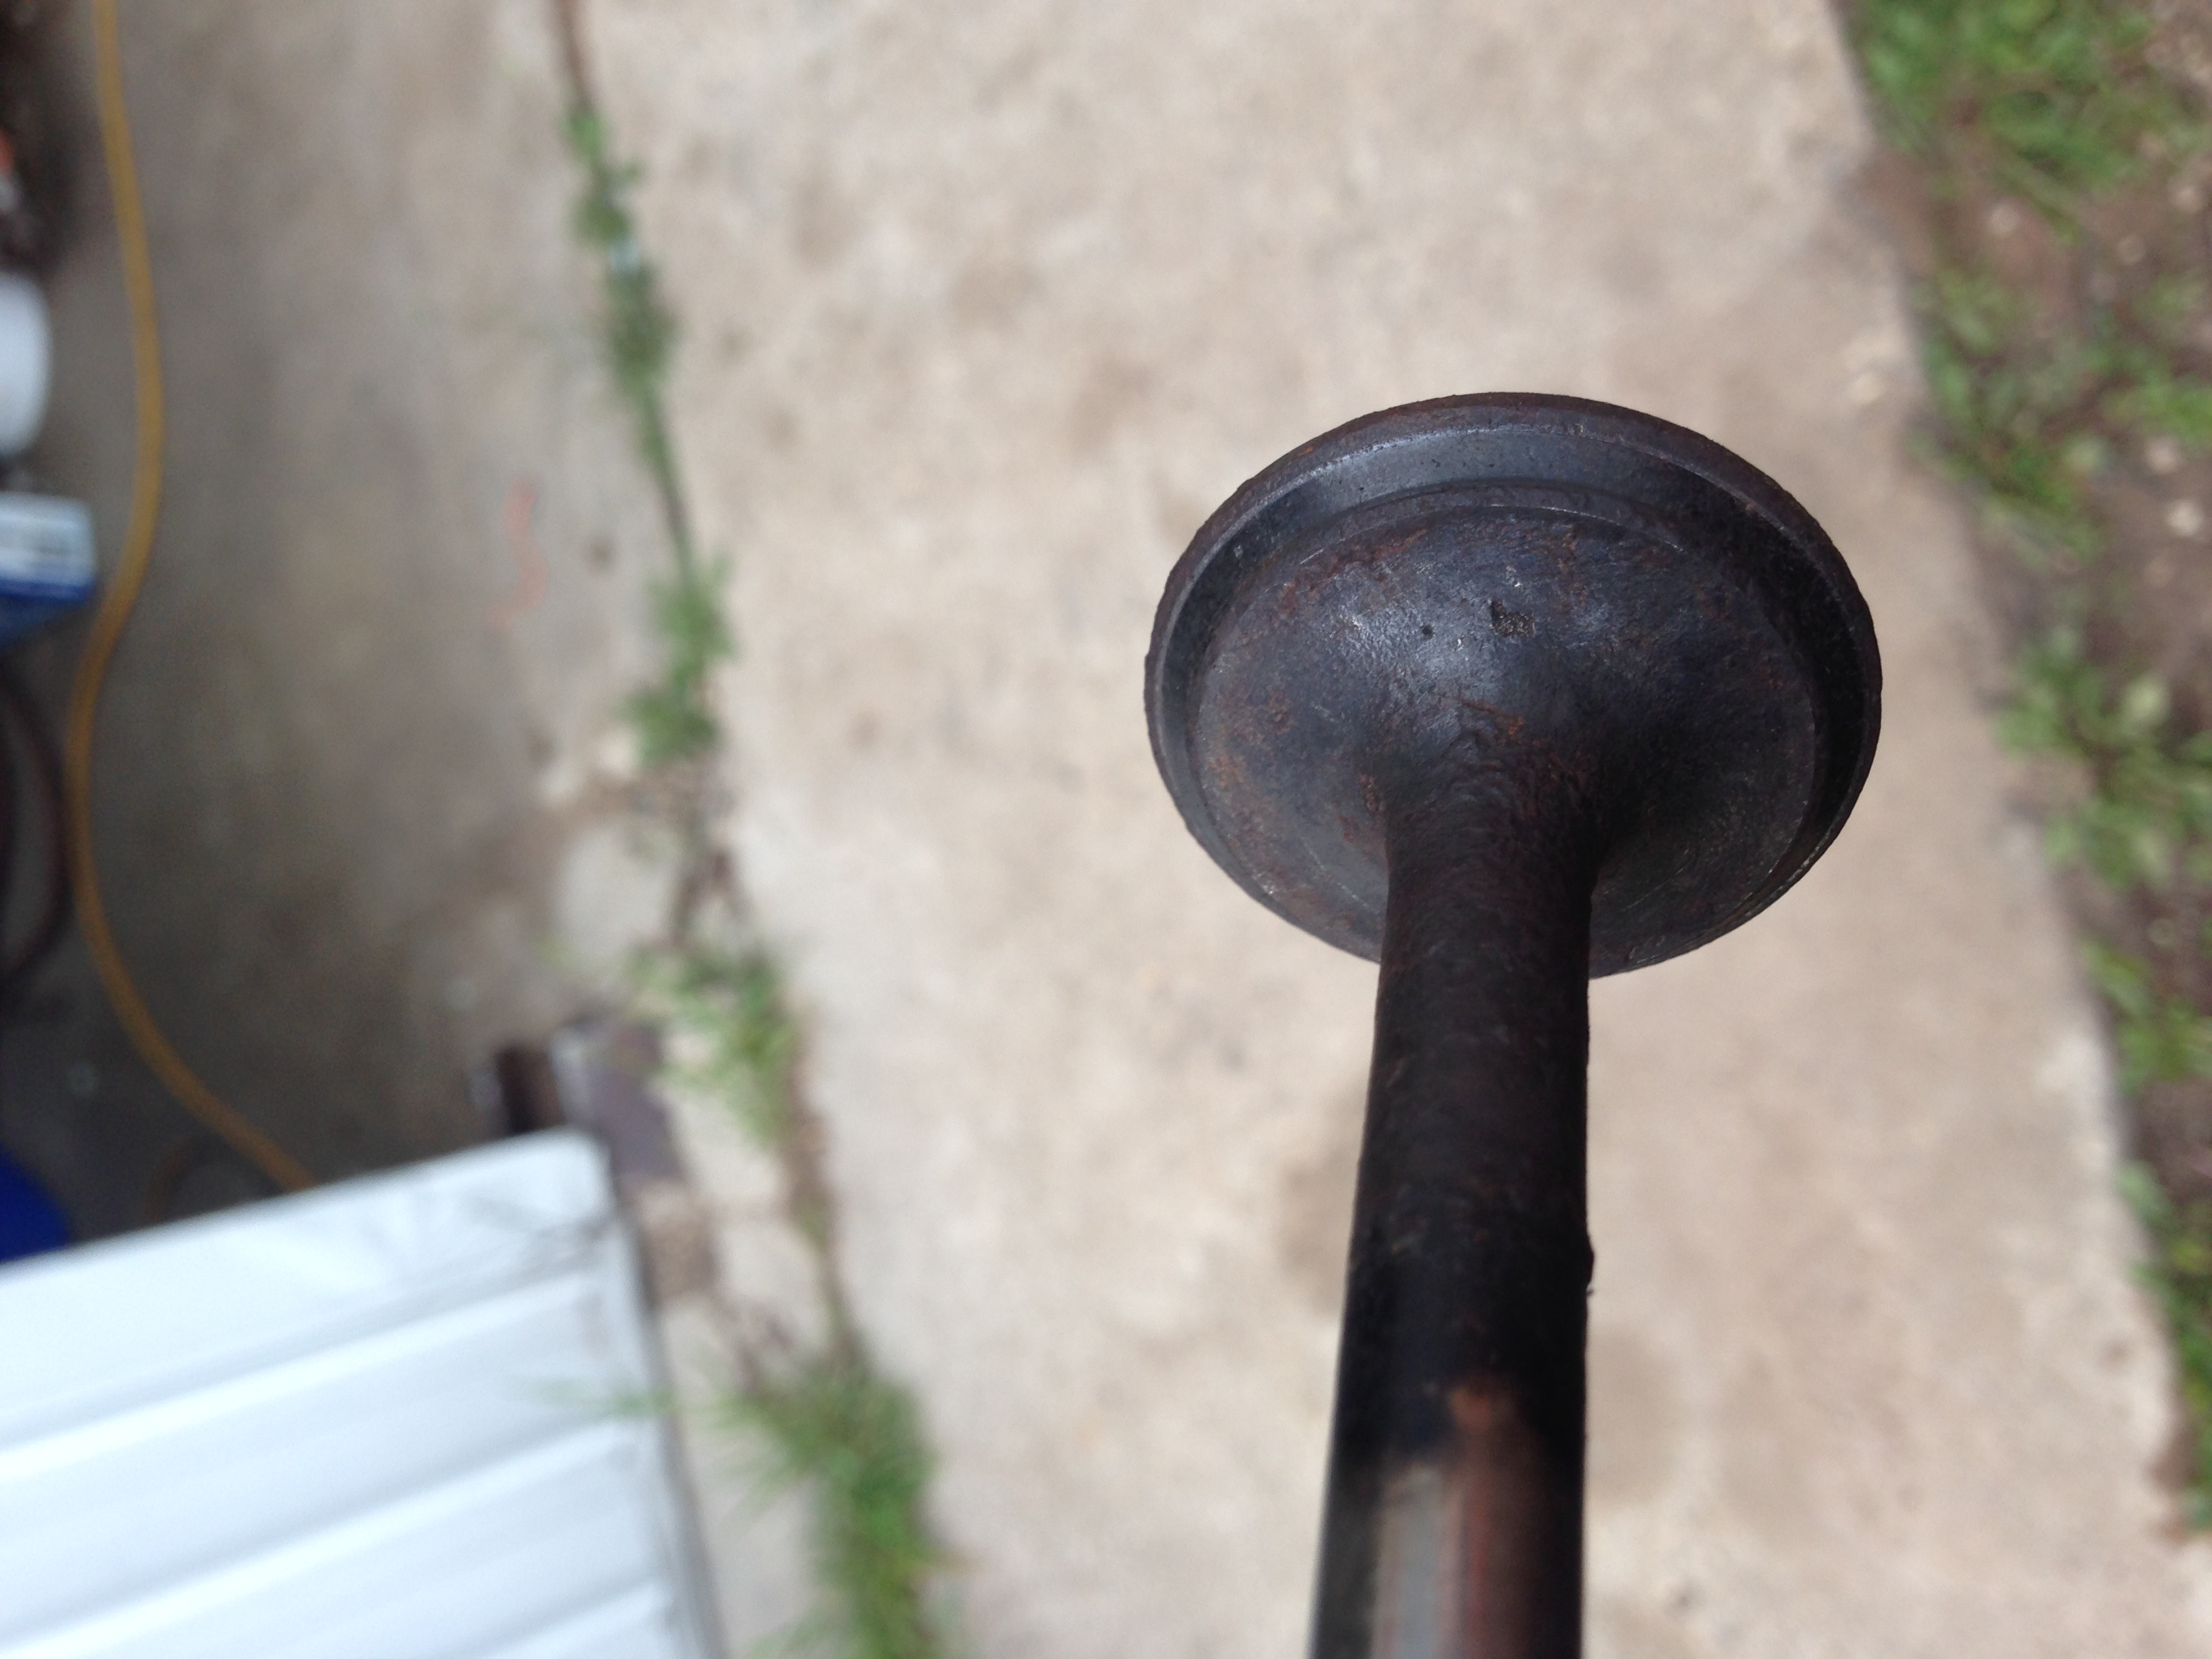
Edited by jbirnsch - 14 Aug 2017 at 10:23pm
|
|
HudCo
Orange Level

Joined: 29 Jan 2013
Location: Plymouth Utah
Points: 3932
|
Post Options
Thanks(0)
Quote Reply
Posted: 21 Jul 2017 at 12:27pm |
|
is that one of those new fangled sealing grooves on that valve ?
|
|
jbirnsch
Bronze Level
Joined: 02 Jun 2010
Location: Egg Harbor, WI
Points: 78
|
Post Options
Thanks(0)
Quote Reply
Posted: 14 Aug 2017 at 10:32pm |
Still finishing up a few things. The engine runs. Puffs a bit of smoke on rev up. Could be rings. There was quite a ridge on the cylinders so they could be the reason. Free engine one must not complain. Here is a video walk around so far. Needed a new radiator. After 1/2 LB of 50/50 solder I gave up on the original radiator. Tank was cracked and the neck was leaking. Picked up a made in India one on eBay for $130 shipped. It fit right in. Made a alt bracket. Also had to make a throttle clamp. I tried to find a pic of what one looked like but gave up and came up with something that worked. Grandpa replaced the foot start years ago with a WD style but with a reverse mechanism to push the start when pulling the rod. https://youtu.be/Z7GFsIujTKk
|
|
JC-WI
Orange Level Access
Joined: 11 Sep 2009
Location: wisconsin
Points: 34352
|
Post Options
Thanks(0)
Quote Reply
Posted: 15 Aug 2017 at 12:23am |
 Thats the two step sure seal valve. LOL
|
|
He who says there is no evil has already deceived himself
The truth is the truth, sugar coated or not. Trawler II says, "Remember that."
|
|
jbirnsch
Bronze Level
Joined: 02 Jun 2010
Location: Egg Harbor, WI
Points: 78
|
Post Options
Thanks(0)
Quote Reply
Posted: 16 Aug 2017 at 7:39pm |
|
The valves were ground and had enough margin left to be reused.
What oil is supposed to go in the transmission and PTO? What I drained out looked like chocolate pudding.
I ran the transmission and PTO with the disconnect lever down to warm it up and drained both plugs on the bottom. I then refilled with diesel fuel and ran again. Did that 2 times to clean out the gunk.
I then filled with 80/90wt gear oil.
The rear end oil was black when drained. Plan to flush and then fill with 80/90wt also. Final drives will get the same treatement.
|
|


