| Author |
 Topic Search Topic Search  Topic Options Topic Options
|
MadCow 
Bronze Level

Joined: 27 Aug 2023
Location: South Dakota
Points: 136
|
 Post Options Post Options
") Thanks(0) Thanks(0)
 Quote Quote  Reply Reply
 Topic: D15 I Hydraulic Pump Rebuild Topic: D15 I Hydraulic Pump Rebuild
Posted: 22 Apr 2024 at 3:49pm |
|
I'm about to take the pump out of my D15 Series I. It is an early serial (1324 if I remember right).
What should I keep an eye out for? Is taking it apart and cleaning enough?
The book says add or remove shims to adjust pressure. What direction does what? What's the starting place for shims?
I'm pretty sure the relief AND unloading valves will at least need shims adjusted. My pressure barely tips over 2,000 now, and hovers around 1500 when running. Won't even lift the grader blade anymore.
I do not believe the hold position,control, or really anything else will need to be changed.
The book recommends a couple spring changes I will be doing.
AGCO will have the parts that I need?
|
 |
|
Sponsored Links
|
|
|
MadCow
Bronze Level
Joined: 27 Aug 2023
Location: South Dakota
Points: 136
|
Post Options
Thanks(0)
Quote Reply
Posted: 22 Apr 2024 at 6:02pm |
|
Also, how the heck do I lower the pump from the housing? I got all the bolts out but the dang thang won't drop
|
|
DiyDave
Orange Level Access


Joined: 11 Sep 2009
Location: Gambrills, MD
Points: 54462
|
Post Options
Thanks(0)
Quote Reply
Posted: 22 Apr 2024 at 7:24pm |
|
I'm pretty sure that there are some linkage connections that have to be removed. Also check the pump camshaft, make sure that the cam rotates when the clutch is out, and that all the lobes are there and smooth. We are talking about the pump that is inside the hyd compartment, right? No metal in the pan?
|
|
Source: Babylon Bee. Sponsored by BRAWNDO, its got what you need!
|
|
MadCow
Bronze Level
Joined: 27 Aug 2023
Location: South Dakota
Points: 136
|
Post Options
Thanks(0)
Quote Reply
Posted: 22 Apr 2024 at 7:56pm |
|
Yes, the one in the torque tube. I will check those things.
There was very fine metal shavings in the fluid and on the plug magnet. Probably... Oh. If you turned one of those super small paper clips into metal dust. And it's more dust than shavings.
I have all the linkages the book is telling me to disconnect. And it looks like there's free space between the linkages levers and the pump. Where does the pump connect to the pipe/tube of the hydraulic system?
|
|
DrAllis
Orange Level Access
Joined: 12 Sep 2009
Points: 22177
|
Post Options
Thanks(0)
Quote Reply
Posted: 22 Apr 2024 at 8:05pm |
|
You have to use a big flat blade screwdriver to compress the coil spring and shove a small nail in the hole on the rod to keep the spring compressed. Then, the pump can fall out.
|
|
MadCow
Bronze Level
Joined: 27 Aug 2023
Location: South Dakota
Points: 136
|
Post Options
Thanks(0)
Quote Reply
Posted: 22 Apr 2024 at 8:21pm |
 DrAllis wrote: DrAllis wrote:
You have to use a big flat blade screwdriver to compress the coil spring and shove a small nail in the hole on the rod to keep the spring compressed. Then, the pump can fall out. |
Yup. Did that. Then removed the cotter pin connecting that rod to the traction booster linkage. the pipe on top of the torque tube? The book says to remove a retaining ring? Do they mean the ring holding the traction booster lever/paddle?
|
|
MadCow
Bronze Level
Joined: 27 Aug 2023
Location: South Dakota
Points: 136
|
Post Options
Thanks(0)
Quote Reply
Posted: 22 Apr 2024 at 8:26pm |
|
|
|
MadCow
Bronze Level
Joined: 27 Aug 2023
Location: South Dakota
Points: 136
|
Post Options
Thanks(0)
Quote Reply
Posted: 22 Apr 2024 at 8:31pm |
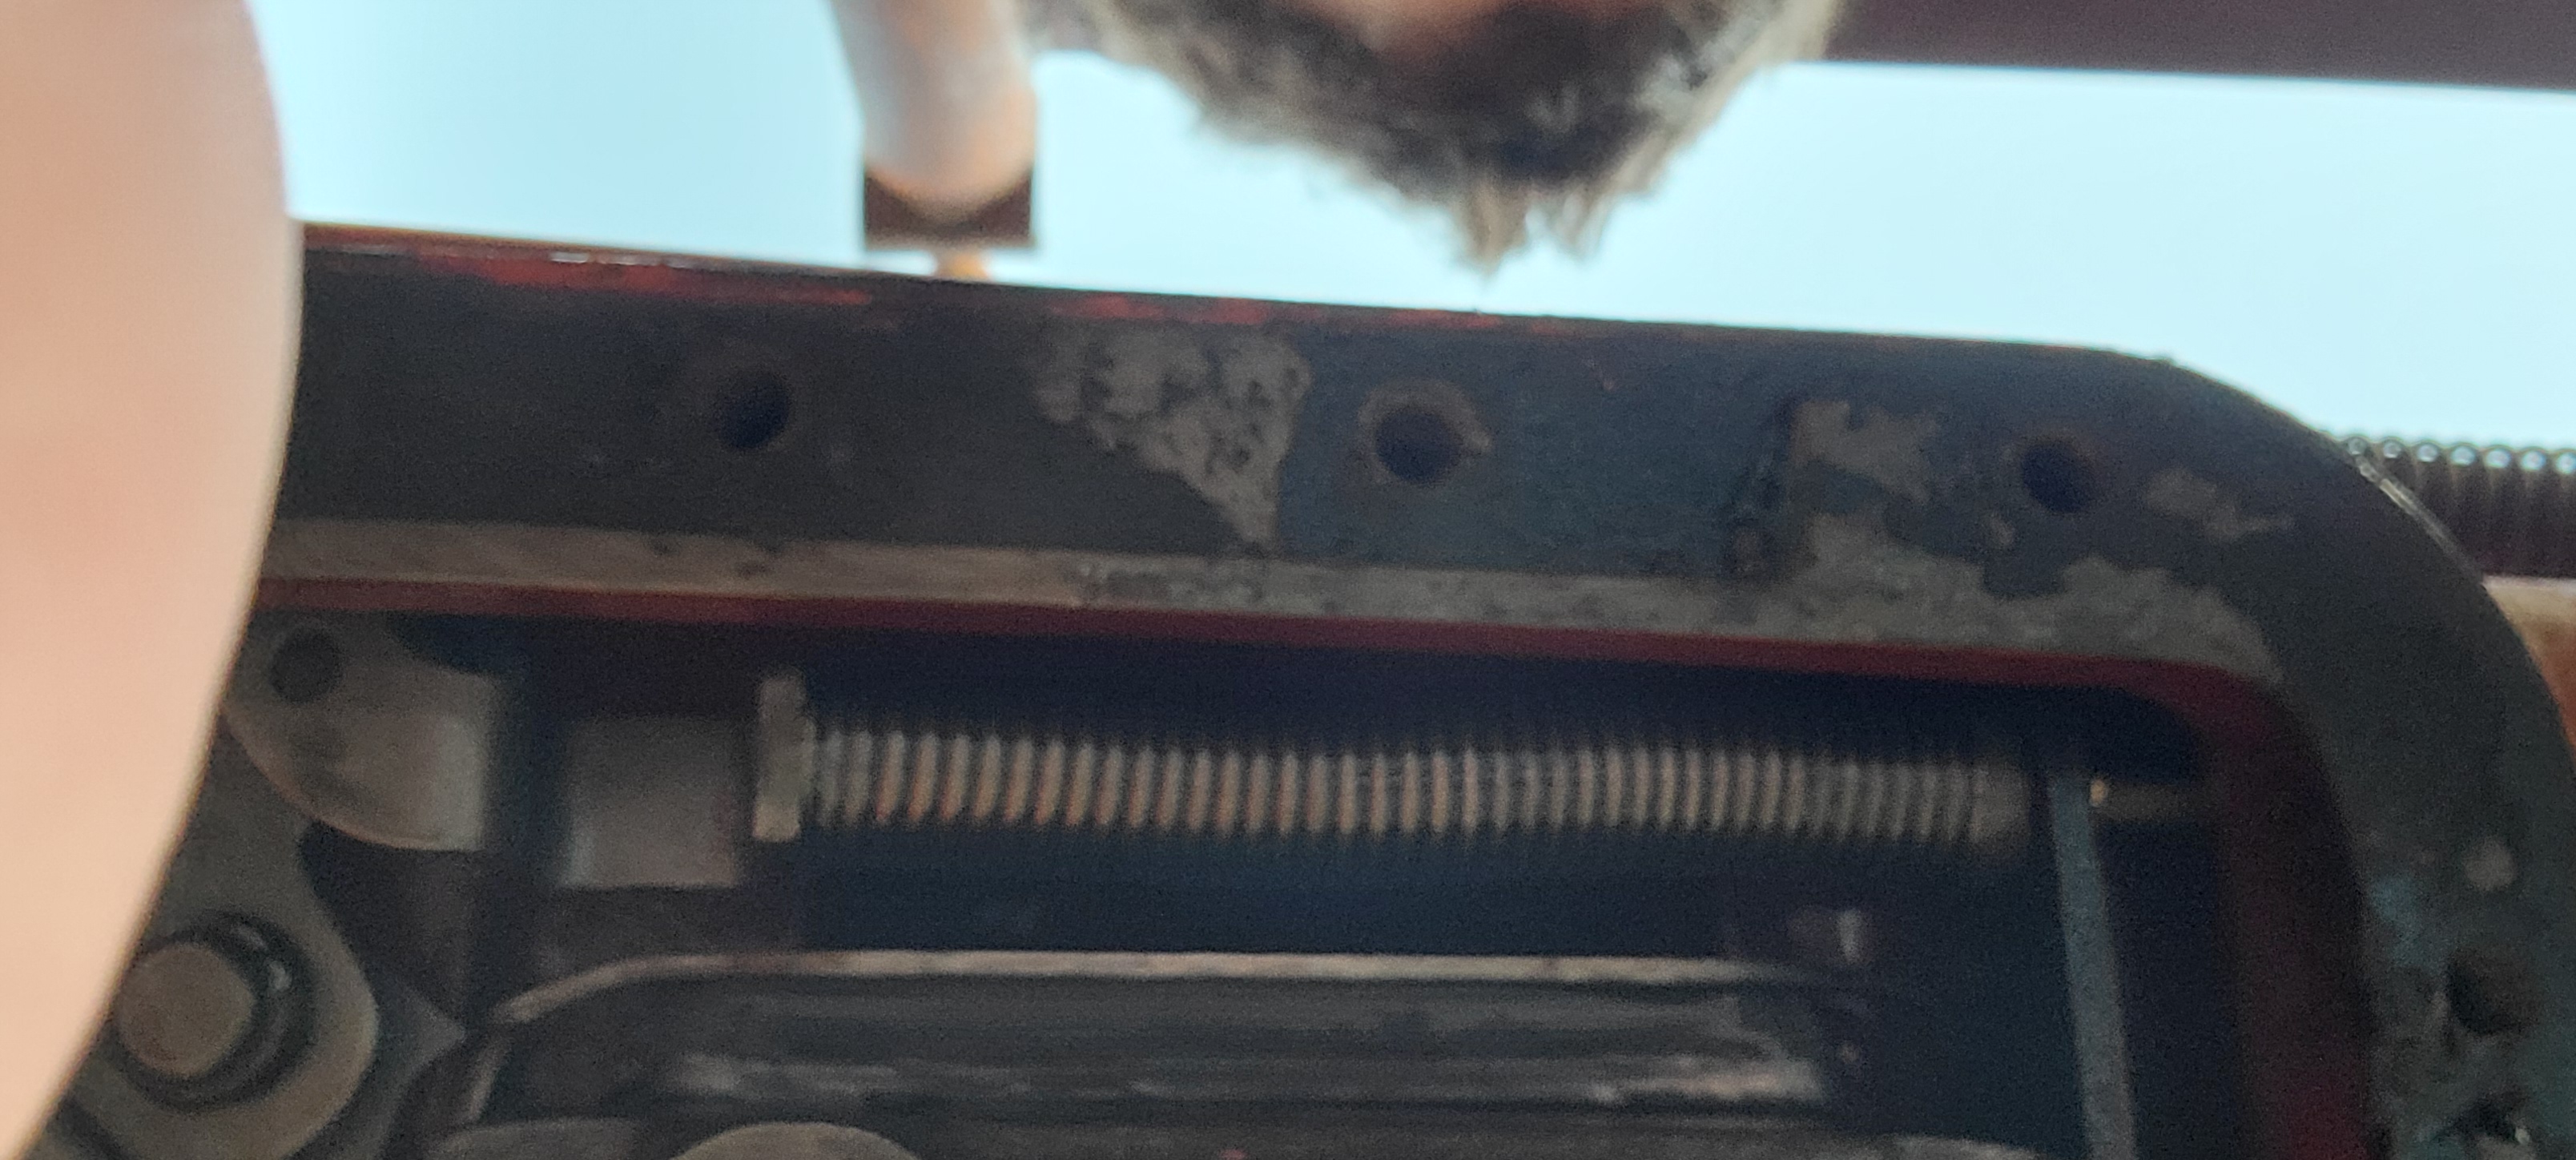 You can just see the brass nail I used, and where I disconnected the linkage.
|
|
DrAllis
Orange Level Access
Joined: 12 Sep 2009
Points: 22177
|
Post Options
Thanks(0)
Quote Reply
Posted: 23 Apr 2024 at 2:11pm |
|
You've got the nail on the wrong side of the bracket the rod slides thru.
|
|
DiyDave
Orange Level Access
Joined: 11 Sep 2009
Location: Gambrills, MD
Points: 54462
|
Post Options
Thanks(0)
Quote Reply
Posted: 23 Apr 2024 at 3:31pm |
Yeah, I thought so, too. It's been a loooooong time since I did one... 
|
|
Source: Babylon Bee. Sponsored by BRAWNDO, its got what you need!
|
|
MadCow
Bronze Level
Joined: 27 Aug 2023
Location: South Dakota
Points: 136
|
Post Options
Thanks(0)
Quote Reply
Posted: 23 Apr 2024 at 5:02pm |
|
Still not coming. Do I need to disconnect the outlet pipe from on top of the torque tube? How does the pump get fluid into the hose?
|
|
MadCow
Bronze Level
Joined: 27 Aug 2023
Location: South Dakota
Points: 136
|
Post Options
Thanks(0)
Quote Reply
Posted: 23 Apr 2024 at 6:04pm |
|
Do I just need to yank real hard?
|
|
DrAllis
Orange Level Access
Joined: 12 Sep 2009
Points: 22177
|
Post Options
Thanks(0)
Quote Reply
Posted: 23 Apr 2024 at 6:07pm |
|
Must be hung up on the alignment dowels. Don't mess with the discharge tube. Somehow need to pry it down out of there. Don't let it land on your face.
|
|
MadCow
Bronze Level
Joined: 27 Aug 2023
Location: South Dakota
Points: 136
|
Post Options
Thanks(0)
Quote Reply
Posted: 23 Apr 2024 at 6:11pm |
|
Got it! Yes. You have to pull real hard
|
|
MadCow
Bronze Level
Joined: 27 Aug 2023
Location: South Dakota
Points: 136
|
Post Options
Thanks(0)
Quote Reply
Posted: 23 Apr 2024 at 6:12pm |
DrAllis wrote:
Must be hung up on the alignment dowels. Don't mess with the discharge tube. Somehow need to pry it down out of there. Don't let it land on your face. |
It almost did when it finally came. When the book says "lower it out" they mean, "put all your body weight into it"
|
|
MadCow
Bronze Level
Joined: 27 Aug 2023
Location: South Dakota
Points: 136
|
Post Options
Thanks(0)
Quote Reply
Posted: 23 Apr 2024 at 6:19pm |
|
Now here's the million dollar question, do I take it ALL apart and clean everything, even the bits I didn't have problems with? Or should I only replace the two parts I know I had issues with?
Now that I know how to get it out it wasn't that hard and I'm not actually to scared if I'd have to do it again.
|
|
MadCow
Bronze Level
Joined: 27 Aug 2023
Location: South Dakota
Points: 136
|
Post Options
Thanks(0)
Quote Reply
Posted: 02 May 2024 at 3:42pm |
|
Does anybody know the dimensions of the Shim for the overload valve spring? My local AGCO dealer can't get it, and I feel like I should be able to just use a washer/spacer on lieu. Just need to know the thickness range to shoot for.
|
|
Allis dave
Orange Level
Joined: 10 May 2012
Location: Northern IN
Points: 3074
|
Post Options
Thanks(0)
Quote Reply
Posted: 02 May 2024 at 7:41pm |
I have in my notes for my WD45 that .01 adds about 700PSI. Seems I remember that the facotry shims were .01.
I was working to get the pressure where I wanted it and adding a full .01 made the pressure too high. I ended up making a .015 shim form some shim stock to get where I wanted.
|
|
DrAllis
Orange Level Access
Joined: 12 Sep 2009
Points: 22177
|
Post Options
Thanks(0)
Quote Reply
Posted: 02 May 2024 at 8:19pm |
|
As per the service manual "each shim raises pressure 125 psi" whatever thickness each shim actually is. ***** A tired pump that needs Orings, balls and springs will have the pressure increased quite a bit without adding any shims. So, don't think you need to add 10 shims to get to 3,000+ relief pressure. In fact, the service manual says no more than 6 springs total, which I never adhered to.
Edited by DrAllis - 02 May 2024 at 8:36pm
|
|
MadCow
Bronze Level
Joined: 27 Aug 2023
Location: South Dakota
Points: 136
|
Post Options
Thanks(0)
Quote Reply
Posted: 02 May 2024 at 8:52pm |
|
I don't see that in the service manual? AC-201?
I'm currently at 2500 with no shims, that's after fixing/replacing springs and the overload valve o-rings. So I should shoot for 0.06"+/-? That's a brand new overload spring. The valve itself looked fine, no obvious damage, didn't really Even see heat marks. So I'd rather try shims. But of each shim gives 125, the. I'd need 9 shims to get to pressure.
|
|
DrAllis
Orange Level Access
Joined: 12 Sep 2009
Points: 22177
|
Post Options
Thanks(0)
Quote Reply
Posted: 02 May 2024 at 9:02pm |
|
And I cannot tell you how thick an OEM shim is if you don't have any to measure.
|
|
MadCow
Bronze Level
Joined: 27 Aug 2023
Location: South Dakota
Points: 136
|
Post Options
Thanks(0)
Quote Reply
Posted: 02 May 2024 at 9:18pm |
Allis dave wrote:
I have in my notes for my WD45 that .01 adds about 700PSI.
Seems I remember that the facotry shims were .01.
I was working to get the pressure where I wanted it and adding a full .01 made the pressure too high. I ended up making a .015 shim form some shim stock to get where I wanted. |
I think the WD45 had a different pump. But I have to make up almost 1000 PSI, so hopefully a small shim can do it.
|
|
MadCow
Bronze Level
Joined: 27 Aug 2023
Location: South Dakota
Points: 136
|
Post Options
Thanks(0)
Quote Reply
Posted: 02 May 2024 at 9:23pm |
DrAllis wrote:
And I cannot tell you how thick an OEM shim is if you don't have any to measure. |
Tell me if this sounds stupid. An SAE 3/8" washer has an OD of .8125"+/- and thickness 0.065"+/-, I'll have to measure the guide rod, but it should fit in a 3/8" washer. Use a grade 8 SAE 3/8" washer as a shim? Take a file to any dangly/sharp bits so there's no potential fragments to dislodge in the pump.
|
|
DrAllis
Orange Level Access
Joined: 12 Sep 2009
Points: 22177
|
Post Options
Thanks(0)
Quote Reply
Posted: 02 May 2024 at 10:39pm |
|
Any flat washer could work. It's a matter of the thickness being right.
|
|
MadCow
Bronze Level
Joined: 27 Aug 2023
Location: South Dakota
Points: 136
|
Post Options
Thanks(0)
Quote Reply
Posted: 03 May 2024 at 10:41pm |
|
Alright. I messed something up! Now the arms only raise, won't lower no matter how I set the adjustment.
I haven't even hooked the traction booster back up yet. But the traction booster lever is very springy, it keeps going to the bottom of the quadrant.
What isn't connected right?
|
|
MadCow
Bronze Level
Joined: 27 Aug 2023
Location: South Dakota
Points: 136
|
Post Options
Thanks(0)
Quote Reply
Posted: 03 May 2024 at 11:23pm |
|
Sorry, more context.
I took a 3/8" stainless washer. 0.048" thick. Drilled out to 29/64". There WERE two shims already installed, for a total thickness of 0.06", plus my 0.048". (Basically added a shim and half).
I touched nothing else, this time I did very lightly tap the two balls into place for the relief and overload valves.
After reinstalling the pump the lift arms will only raise. I get better pressure, close to 3000. I'm not going to add more shims though until I can get it to work right AND still not have pressure.
I'm 90% sure I got the roller lever on the cover onto the relief on the spring. I have not hooked the linkage back up to the snapcoupler bell.
The traction booster arm keeps wanting to spring to the bottom of the quadrant.
I'm nearly certain it's something with the cover, but I'm struggling to visualize the issue or how to fix it between the manual and what I saw from having it apart.
|
|
DrAllis
Orange Level Access
Joined: 12 Sep 2009
Points: 22177
|
Post Options
Thanks(0)
Quote Reply
Posted: 04 May 2024 at 6:08am |
|
Traction Booster Linkage MUST BE CONNECTED AND ADJUSTED RIGHT OR THE ARMS WILL LIFT AND NOT LOWER !!!!
|
|
MadCow
Bronze Level
Joined: 27 Aug 2023
Location: South Dakota
Points: 136
|
Post Options
Thanks(0)
Quote Reply
Posted: 04 May 2024 at 8:42am |
DrAllis wrote:
Traction Booster Linkage MUST BE CONNECTED AND ADJUSTED RIGHT OR THE ARMS WILL LIFT AND NOT LOWER !!!! |
I'm do that doc, last time I installed and tested it worked fine without being hooked up.
|
|
MadCow
Bronze Level
Joined: 27 Aug 2023
Location: South Dakota
Points: 136
|
Post Options
Thanks(0)
Quote Reply
Posted: 04 May 2024 at 12:34pm |
|
Obviously Dr was right.
However, with the addition of Shims, my peak pressure didn't change at all. The service manual says to "overhaul the overload valve". I'm assuming this means new o-rings, plunger, seat and ball.
I did new o-rings when I had it apart, AND gave the ball a little tappy tappy into the seat.
Will a new plunger, seat, ball, (and another new set of o-rings) do the trick, or is there something NOT in the manual that could cause it too?
Traction booster is reset perfect, as well as raise lower. It raises the arms in probably 4 seconds. Just doesn't get passed 2500psi.
|
|
DrAllis
Orange Level Access
Joined: 12 Sep 2009
Points: 22177
|
Post Options
Thanks(0)
Quote Reply
Posted: 04 May 2024 at 6:54pm |
|
Your first post said 2,000 psi peak. Now you have 2500 psi. Why don't you actually try and use the tractor and see what it will lift before yanking the pump back out. This test will also insure that the hold valve works and everything else is fine except max psi. Being low on peak pressure doesn't hurt anything as long as it picks up your biggest load.
Edited by DrAllis - 04 May 2024 at 7:07pm
|
|


