| Author |
 Topic Search Topic Search  Topic Options Topic Options
|
SteveM C/IL 
Orange Level Access

Joined: 12 Sep 2009
Location: Shelbyville IL
Points: 7979
|
 Post Options Post Options
") Thanks(0) Thanks(0)
 Quote Quote  Reply Reply
 Posted: 04 Oct 2022 at 10:36am Posted: 04 Oct 2022 at 10:36am |
|
Sleeving the bores would beat any metal build up process. Not cost effective. Get another block.
|
 |
|
Sponsored Links
|
|
|
wjohn
Orange Level

Joined: 19 Jan 2010
Location: KS
Points: 1797
|
Post Options
Thanks(0)
Quote Reply
Posted: 12 Feb 2023 at 9:05pm |
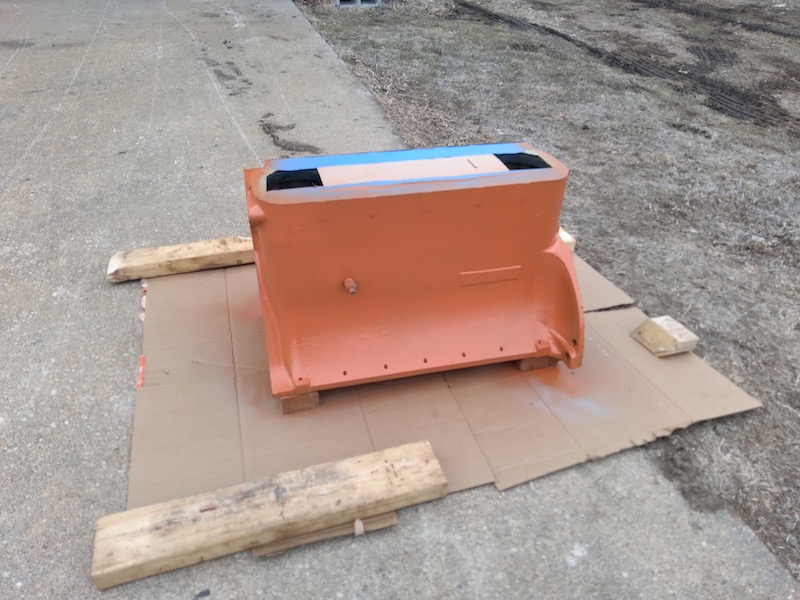
Thanks to all for the block advice. I picked up another block from a forum member before Christmas. Just got it back from the machine shop where it was dry stripped/blasted, decked, and cleaned. They said they had to take 0.005" off, so I'm anticipating I'll have to take a little off the tops of new the sleeves in order to have the right protrusion above the deck.
They did point out some tiny cracks around one of the 3/8" stud holes for the cylinder head. It looks like there's still a broken off piece of stud way down in the bottom of it so I'll carefully set this up in the drill press and take care of that. The shop wasn't concerned about the cracks and I'm not really either, but I may get a pic of it later this week. No cracks in between the cylinders anywhere.
I was not planning on putting any new paint on this tractor but since I had the block stripped, I had to put something on to keep it from rusting. Cans of PO #1 are almost $20 each from AGCO now.
|
|
1939 B, 1940 B, 1941 WC, 1951 WD, 1952 CA, 1956 WD-45
|
|
wjohn
Orange Level
Joined: 19 Jan 2010
Location: KS
Points: 1797
|
Post Options
Thanks(0)
Quote Reply
Posted: 15 Apr 2024 at 11:25pm |
Over a year later  I did switch focus and get an IH Super M going in the meantime, and it has become my main tractor. I have to get these ACs operational and earning their keep.
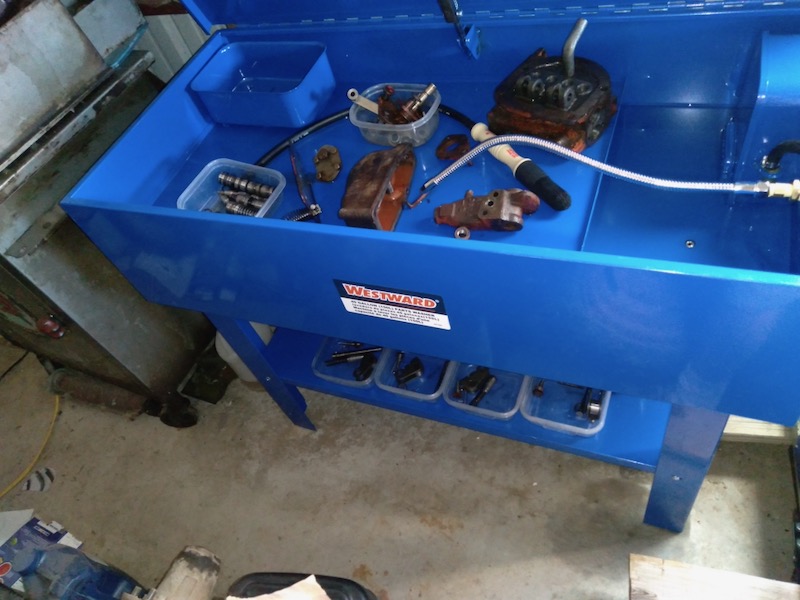
I got a parts washer and I hate to think how many days of cleaning up parts over my life I could have saved. The WD's hydraulic pump has been the first big cleanup job in it.
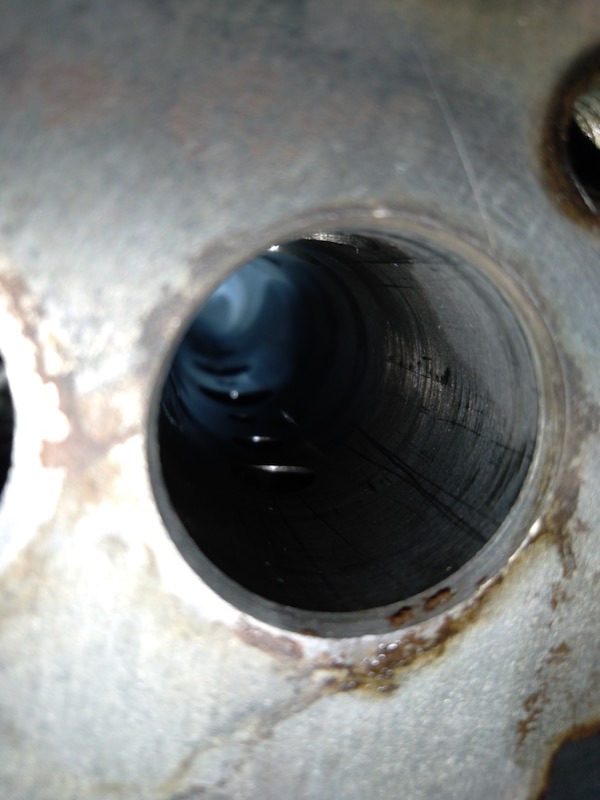
Overall the pump was in far better shape than I expected - not much moisture had been sitting in it. However, I did find some scoring in one of the bores of the pump body. I can catch my fingernail on one of them. I will do my best to polish this out with Scotch-Brite or similar, unless I'm wasting my time?
|
|
1939 B, 1940 B, 1941 WC, 1951 WD, 1952 CA, 1956 WD-45
|
|
wjohn
Orange Level
Joined: 19 Jan 2010
Location: KS
Points: 1797
|
Post Options
Thanks(0)
Quote Reply
Posted: 20 Apr 2024 at 10:41pm |
I'm crashing onwards with the pump. Everything is cleaned up and I picked up most of the parts I needed. Just waiting on a few that my dealer didn't have in stock.
I ended up doing some light filing plus Scotch-brite work to clean up the worst scores in the bore, and some damage to the rearmost control valve sleeve. I noticed two small mangled pieces of metal in the parts washer today that probably caused the damage. I'm not sure where they were hiding at, but that's why it's always good to thoroughly clean everything, right? Files in control valve bores like this is a huge no-no but I figured I didn't have anything to lose on this pump. We'll see if it works out.
There were 7 shims on the unloading valve. I decided to leave all of them in. I need to get a 5000 psi gauge so I can check pressure once I have the tractor back together.
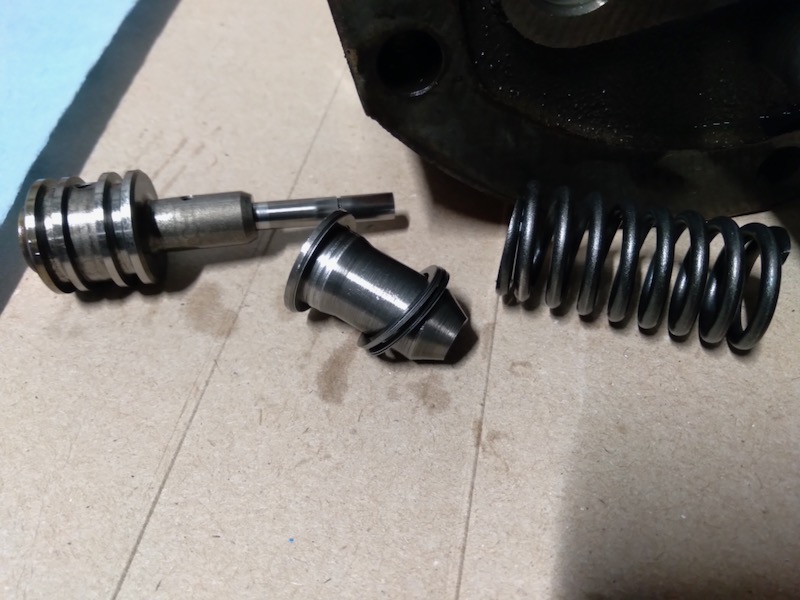
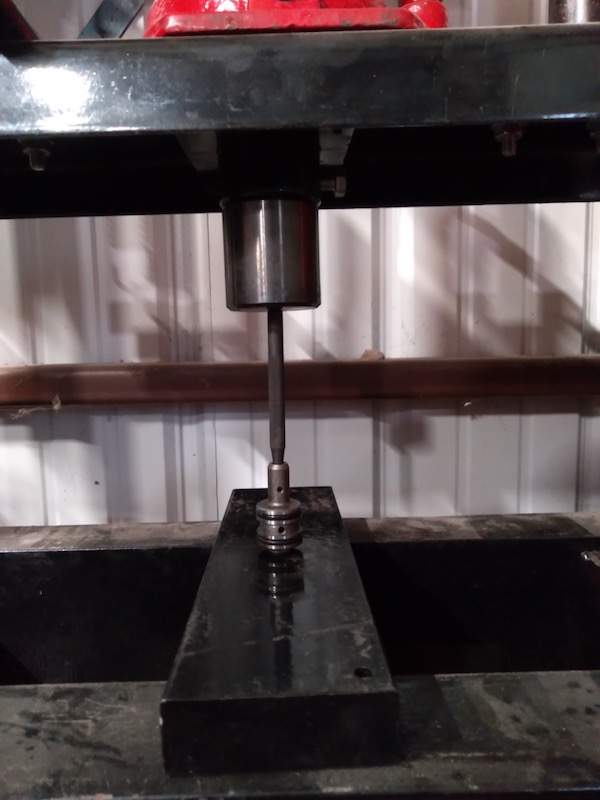
The AC service manual says you should replace the unloading valve as an assembly. However they are no longer available in 2024. They also provide a procedure "for emergencies" for reusing an old unloading valve with a new ball. You are supposed to press the ball into the seat with 5000 pounds of force and then clean up any deformation in the hole afterwards. I pressed gently with a 20 ton hydraulic press - maybe I only actually got 1 or 2000 lbs. of force on it, but I didn't want to overdo it since I don't have a pressure gauge on my press.
|
|
1939 B, 1940 B, 1941 WC, 1951 WD, 1952 CA, 1956 WD-45
|
|
IBWD MIke
Orange Level

Joined: 08 Apr 2012
Location: Newton Ia.
Points: 3440
|
Post Options
Thanks(0)
Quote Reply
Posted: 21 Apr 2024 at 6:21am |
|
You know what they say, necessity is the mother of invention!
|
|
wjohn
Orange Level
Joined: 19 Jan 2010
Location: KS
Points: 1797
|
Post Options
Thanks(0)
Quote Reply
Posted: 21 Apr 2024 at 1:34pm |
Right! It continues...
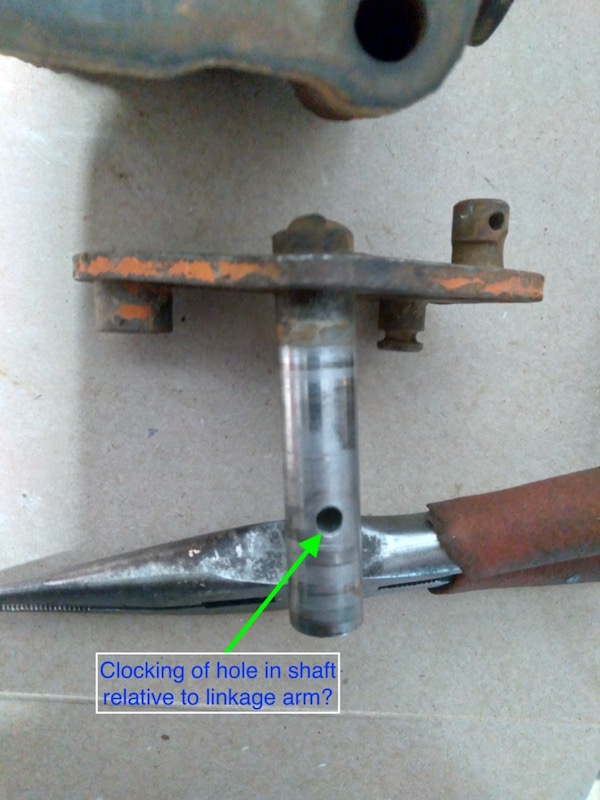
I am hoping someone can help me with this linkage from the drawbar - anybody have one loose laying around their shop that can take a measurement of where the hole for the crosspin should be located?
The shaft came loose from the external arm at some point in the tractor's life and they (poorly) welded it back on, and the welds broke. I have the shaft out, cleaned up, and ready to weld back in but I don't want to mess up the hole orientation. The way the crosspin holds the internal linkage to the shaft seems like it would be important. The first pic shows how it was when I removed it, and I suspect that is not correct.
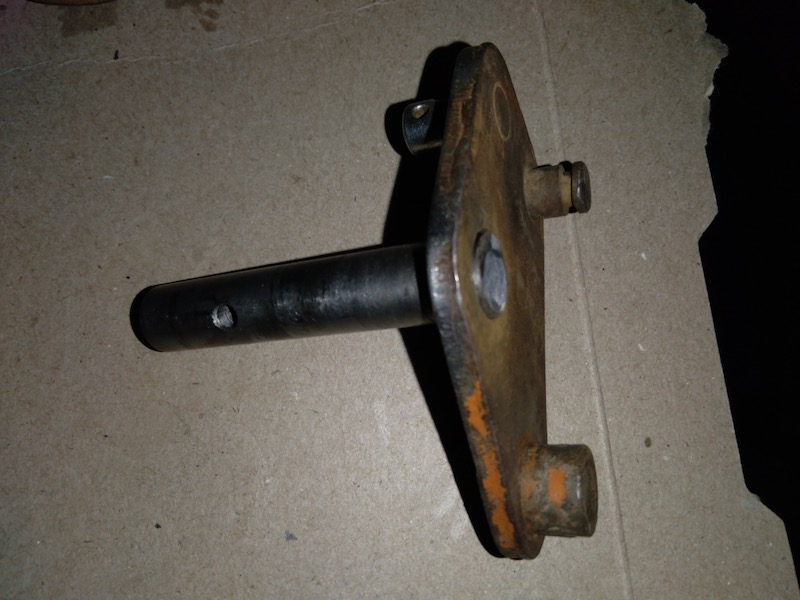
EDIT: Second pic shows the shaft backwards. Luckily it is not welded yet, ha.
Edited by wjohn - 21 Apr 2024 at 1:35pm
|
|
1939 B, 1940 B, 1941 WC, 1951 WD, 1952 CA, 1956 WD-45
|
|
IBWD MIke
Orange Level
Joined: 08 Apr 2012
Location: Newton Ia.
Points: 3440
|
Post Options
Thanks(0)
Quote Reply
Posted: 20 hours 14 minutes ago at 5:47am |
|
Sorry, don't have one loose. Hopefully someone else will.
|
|
Mikez
Orange Level Access

Joined: 16 Jan 2013
Location: Usa
Points: 8143
|
Post Options
Thanks(0)
Quote Reply
Posted: 18 hours 27 minutes ago at 7:34am |
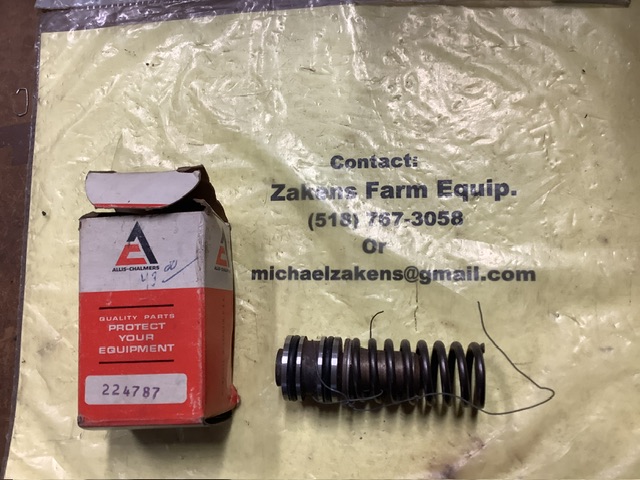
Is this what your looking for
|
|
SteveM C/IL
Orange Level Access
Joined: 12 Sep 2009
Location: Shelbyville IL
Points: 7979
|
Post Options
Thanks(0)
Quote Reply
Posted: 18 hours 22 minutes ago at 7:39am |
|
That's it!!
|
|
wjohn
Orange Level
Joined: 19 Jan 2010
Location: KS
Points: 1797
|
Post Options
Thanks(0)
Quote Reply
Posted: 8 hours 55 minutes ago at 5:06pm |
Mikez that sure is an unloading valve! Neat to see that there's at least one NOS one still around. I am hoping mine is fine but I put in a new ball to be as sure as I can. There's no visible damage, at least.
70224506 would be the PN of the regulating shaft assembly, in case you have one loose and can show how the hole in the shaft is oriented relative to the plate it is pressed into. Otherwise I might be SWAGing it based off of what I can see in the parts book diagram... which is not very scientific.
|
|
1939 B, 1940 B, 1941 WC, 1951 WD, 1952 CA, 1956 WD-45
|
|