| Author |
 Topic Search Topic Search  Topic Options Topic Options
|
hamman01 
Orange Level


Joined: 18 Dec 2011
Location: Lewiston, MI.
Points: 577
|
 Post Options Post Options
 Thanks(0) Thanks(0)
 Quote Quote  Reply Reply
 Posted: 12 Jun 2012 at 8:43am Posted: 12 Jun 2012 at 8:43am |
|
I was lucky to get a motor with the ring gear on the fly wheel. I don't have a starter at this time so I do need to be able to turn the motor over.
|
 |
|
Sponsored Links
|
|
 |
hamman01 
Orange Level


Joined: 18 Dec 2011
Location: Lewiston, MI.
Points: 577
|
 Post Options Post Options
 Thanks(0) Thanks(0)
 Quote Quote  Reply Reply
 Posted: 12 Jun 2012 at 11:06am Posted: 12 Jun 2012 at 11:06am |
|
I haven't been able to get the bolt out. Cut it square and tried sockets. Just stripped. We cut a nice slot in it and it just stripped out. Now a question. Is there a key under this bolt or is there an indent in the crank end where the bolt is tapered and fits into? My next try is to cut the bolt flush with the pulley and try to drill it out. I don't want to screw up the crank by drilling into it. Thanks.
|
 |
Redwood 
Orange Level

Joined: 16 Jan 2012
Location: Ontario
Points: 631
|
 Post Options Post Options
 Thanks(0) Thanks(0)
 Quote Quote  Reply Reply
 Posted: 12 Jun 2012 at 11:58am Posted: 12 Jun 2012 at 11:58am |
If It were me, I'd torch the backside of the pully and leave the bolt. You only need to melt the metal behind the bolt. If it is threaded instead of indented, because at this point you can't be 100% sure how they've fixed it. Once you torch loosen the pully the bolt will either fall off with it or you will have enough threads for the visegrips.
This does require a bit of knowledge and skill with the torch as you must not get the crank over heated(damaged). But since the pully is junk it does not matter how you treat it.
|
 |
SteveM C/IL 
Orange Level Access

Joined: 12 Sep 2009
Location: Shelbyville IL
Points: 8658
|
 Post Options Post Options
 Thanks(0) Thanks(0)
 Quote Quote  Reply Reply
 Posted: 12 Jun 2012 at 1:02pm Posted: 12 Jun 2012 at 1:02pm |
|
It should have a tapered hole in crank.The taper bolts/setscrews all over the tractor have same taper.Starter lock,brake/clutch cross shaft,steering arms on wide fronts etc.
|
 |
Mike56073 
Silver Level

Joined: 14 Nov 2010
Location: New Ulm
Points: 154
|
 Post Options Post Options
 Thanks(0) Thanks(0)
 Quote Quote  Reply Reply
 Posted: 12 Jun 2012 at 1:56pm Posted: 12 Jun 2012 at 1:56pm |
If you haven't already, I would take a hammer and punch, and use it on the center of that bolt, just in case it is an allen head full of crud and then painted over.
|
 |
hamman01 
Orange Level


Joined: 18 Dec 2011
Location: Lewiston, MI.
Points: 577
|
 Post Options Post Options
 Thanks(0) Thanks(0)
 Quote Quote  Reply Reply
 Posted: 12 Jun 2012 at 2:57pm Posted: 12 Jun 2012 at 2:57pm |
|
It was a bolt with the head broken off! I have drilled it out toi where there is just a 1/4" on one side holding on one side. I have drilled hammered and punched with no results. I am afraid to drill any further in fear of drilling into the crank.
|
 |
CTuckerNWIL 
Orange Level


Joined: 11 Sep 2009
Location: NW Illinois
Points: 22825
|
 Post Options Post Options
 Thanks(0) Thanks(0)
 Quote Quote  Reply Reply
 Posted: 12 Jun 2012 at 4:48pm Posted: 12 Jun 2012 at 4:48pm |
|
So now is the time to get the welder out. Find a washer that will set centered over the bolt without hitting the back of the pulley. Weld the washer to the bolt thru the center hole. Lay a nut on the washer and weld it to the washer, this doesn't have to be perfectly centered or even level or square with the bolt. Put a wrench on the nut and back the bolt out. It's really pretty easy to do using a washer first. I have seen a GOOD welder reach thru a 3/8 inch nut and weld it to a bolt, but that takes a bit more skill to do.
|
|
|
 |
MNLonnie 
Orange Level


Joined: 11 Sep 2009
Location: Baxter MN
Points: 4791
|
 Post Options Post Options
 Thanks(0) Thanks(0)
 Quote Quote  Reply Reply
 Posted: 12 Jun 2012 at 5:30pm Posted: 12 Jun 2012 at 5:30pm |
|
I think you would know when you hit the crank with the drill bit, it should be a lot harder than the bolt. Even if you do hit the crank I doubt you would damage it enough to matter since that part is just for the set screw.
|
|
Waukesha B, B, IB, G, styled WF, D15, 615 backhoe, 2-Oliver OC3's, 4 Ford Model T's, 3 Model A Fords, AV8 Coupe, AV8 Roadster, 1933 Ford Wrecker
|
 |
hamman01 
Orange Level


Joined: 18 Dec 2011
Location: Lewiston, MI.
Points: 577
|
 Post Options Post Options
 Thanks(0) Thanks(0)
 Quote Quote  Reply Reply
 Posted: 12 Jun 2012 at 6:04pm Posted: 12 Jun 2012 at 6:04pm |
|
I drilled the bolt out but due to the odd angle of it I drilled off center of the bolt wobbling out the pulley. The pully being drilled is not a problem as it is junk anyway. I have about 1/2 of the bolt left in an arc. I will try to post a picture in a while. I have drilled as deep as I am going to. I am afraid of messing up the crank. I thought of using a torch to blow out the rest of the bolt but I am not that good. I tried to get a nut started on the bolt before anything but that didn't work either. We have to cover our plants due to frost comming tonight so I will post the pic later. Thanks. Roger
|
 |
CTuckerNWIL 
Orange Level


Joined: 11 Sep 2009
Location: NW Illinois
Points: 22825
|
 Post Options Post Options
 Thanks(0) Thanks(0)
 Quote Quote  Reply Reply
 Posted: 12 Jun 2012 at 7:08pm Posted: 12 Jun 2012 at 7:08pm |
|
So keep drilling it bigger till the bolt is gone. That pulley would be a good one to face off the front and add tapped holes to bolt pump drive on but won't be much good if the set screw hole is whollered out.
|
|
|
 |
hamman01 
Orange Level


Joined: 18 Dec 2011
Location: Lewiston, MI.
Points: 577
|
 Post Options Post Options
 Thanks(0) Thanks(0)
 Quote Quote  Reply Reply
 Posted: 12 Jun 2012 at 7:11pm Posted: 12 Jun 2012 at 7:11pm |
|
BIL was just here and brought his nifty "Bolt Out" kit we gave him for Christmas a few years ago. To bad I messed it up already. His advice is to drill out more of the bolt and keep increasing the size as I did before. Hopefully I can get the rest of the bolt out with this method. If that wount work I think I am going to try to grind the pully off. May take a while but I have lots of time. No pics camera broke. Thanks for the ideas. Roger
|
 |
Steve Zidlicky 
Orange Level

Joined: 15 Sep 2009
Location: Bolivar, MO
Points: 325
|
 Post Options Post Options
 Thanks(0) Thanks(0)
 Quote Quote  Reply Reply
 Posted: 12 Jun 2012 at 10:36pm Posted: 12 Jun 2012 at 10:36pm |
|
CAUTION !!! crankshaft is not hard so don't think your bit will stop when hitting it. try to drill a small but as large as possible hole opposite of your screw up hole and then take a small punch and gently tap the punch at the angle to unscrew what is left. btw tap it counterclockwise. or drill two holes side by side on the remaining part of the bolt, take a small sharp chisel and open up a screwdriver slot and take a small impact wrench with a screwdriver bit and drive it into the slot as deep as you can and set it to barely hammer and turn the bolt out. next time weld the washer and nut on. looks like you had plenty there to do it
|
 |
hamman01 
Orange Level


Joined: 18 Dec 2011
Location: Lewiston, MI.
Points: 577
|
 Post Options Post Options
 Thanks(0) Thanks(0)
 Quote Quote  Reply Reply
 Posted: 21 Jun 2012 at 1:49pm Posted: 21 Jun 2012 at 1:49pm |
|
I am just about at my wits end. I have drilled and tried to break out the rest of the bolt to no avail. I hate the thought of hammering against that pulley to break it because of the crank, bearings, seals etc.. I just don't know how to get that thing off now. It has set me back qite a bit for getting it running and out and about.
|
 |
Steve Zidlicky 
Orange Level

Joined: 15 Sep 2009
Location: Bolivar, MO
Points: 325
|
 Post Options Post Options
 Thanks(0) Thanks(0)
 Quote Quote  Reply Reply
 Posted: 21 Jun 2012 at 2:39pm Posted: 21 Jun 2012 at 2:39pm |
|
sent you a pm
|
 |
CTuckerNWIL 
Orange Level


Joined: 11 Sep 2009
Location: NW Illinois
Points: 22825
|
 Post Options Post Options
 Thanks(0) Thanks(0)
 Quote Quote  Reply Reply
 Posted: 21 Jun 2012 at 4:33pm Posted: 21 Jun 2012 at 4:33pm |
You past up the best advice on here by not welding a washer to the bolt and then welding a nut to the washer and backing the whole works out. Now , it sounds like the safest thing you can do is start grinding on the area where the set screw is. If you grind the hub and left over set screw all the way down to the shaft, the pulley will come off.
|
|
|
 |
hamman01 
Orange Level


Joined: 18 Dec 2011
Location: Lewiston, MI.
Points: 577
|
 Post Options Post Options
 Thanks(0) Thanks(0)
 Quote Quote  Reply Reply
 Posted: 21 Jun 2012 at 6:22pm Posted: 21 Jun 2012 at 6:22pm |
|
ctucker you sir are correct. I have done this sort of thing before but with better results. If i could do this over again I certainly would. I believe I will start the grinding process tomorrow and get it done. Thanks. I will let you all know how it goes. Roger
|
 |
hamman01 
Orange Level


Joined: 18 Dec 2011
Location: Lewiston, MI.
Points: 577
|
 Post Options Post Options
 Thanks(0) Thanks(0)
 Quote Quote  Reply Reply
 Posted: 28 Jun 2012 at 8:10am Posted: 28 Jun 2012 at 8:10am |
|
Not much progress on the pulley. New roof on house and Dr. appts. have kept me away from the garage. With the temp being in the 90s + that hasn't helped either. Hoping that after Saturday I can get back on it. I have been plotting a course of action to get the pulley off. I have tried to think of a way to save it but that hasn't happened yet. I believe if I use a 6" angle grinder with a thin cutting wheel and cut on both sides of the pulley and then use a sharp chisel striking it sharply should make it crack and come apart from around the crank. ( Thats what I dreamed in my perfect dream)
|
 |
hamman01 
Orange Level


Joined: 18 Dec 2011
Location: Lewiston, MI.
Points: 577
|
 Post Options Post Options
 Thanks(0) Thanks(0)
 Quote Quote  Reply Reply
 Posted: 19 Jul 2012 at 8:59pm Posted: 19 Jul 2012 at 8:59pm |
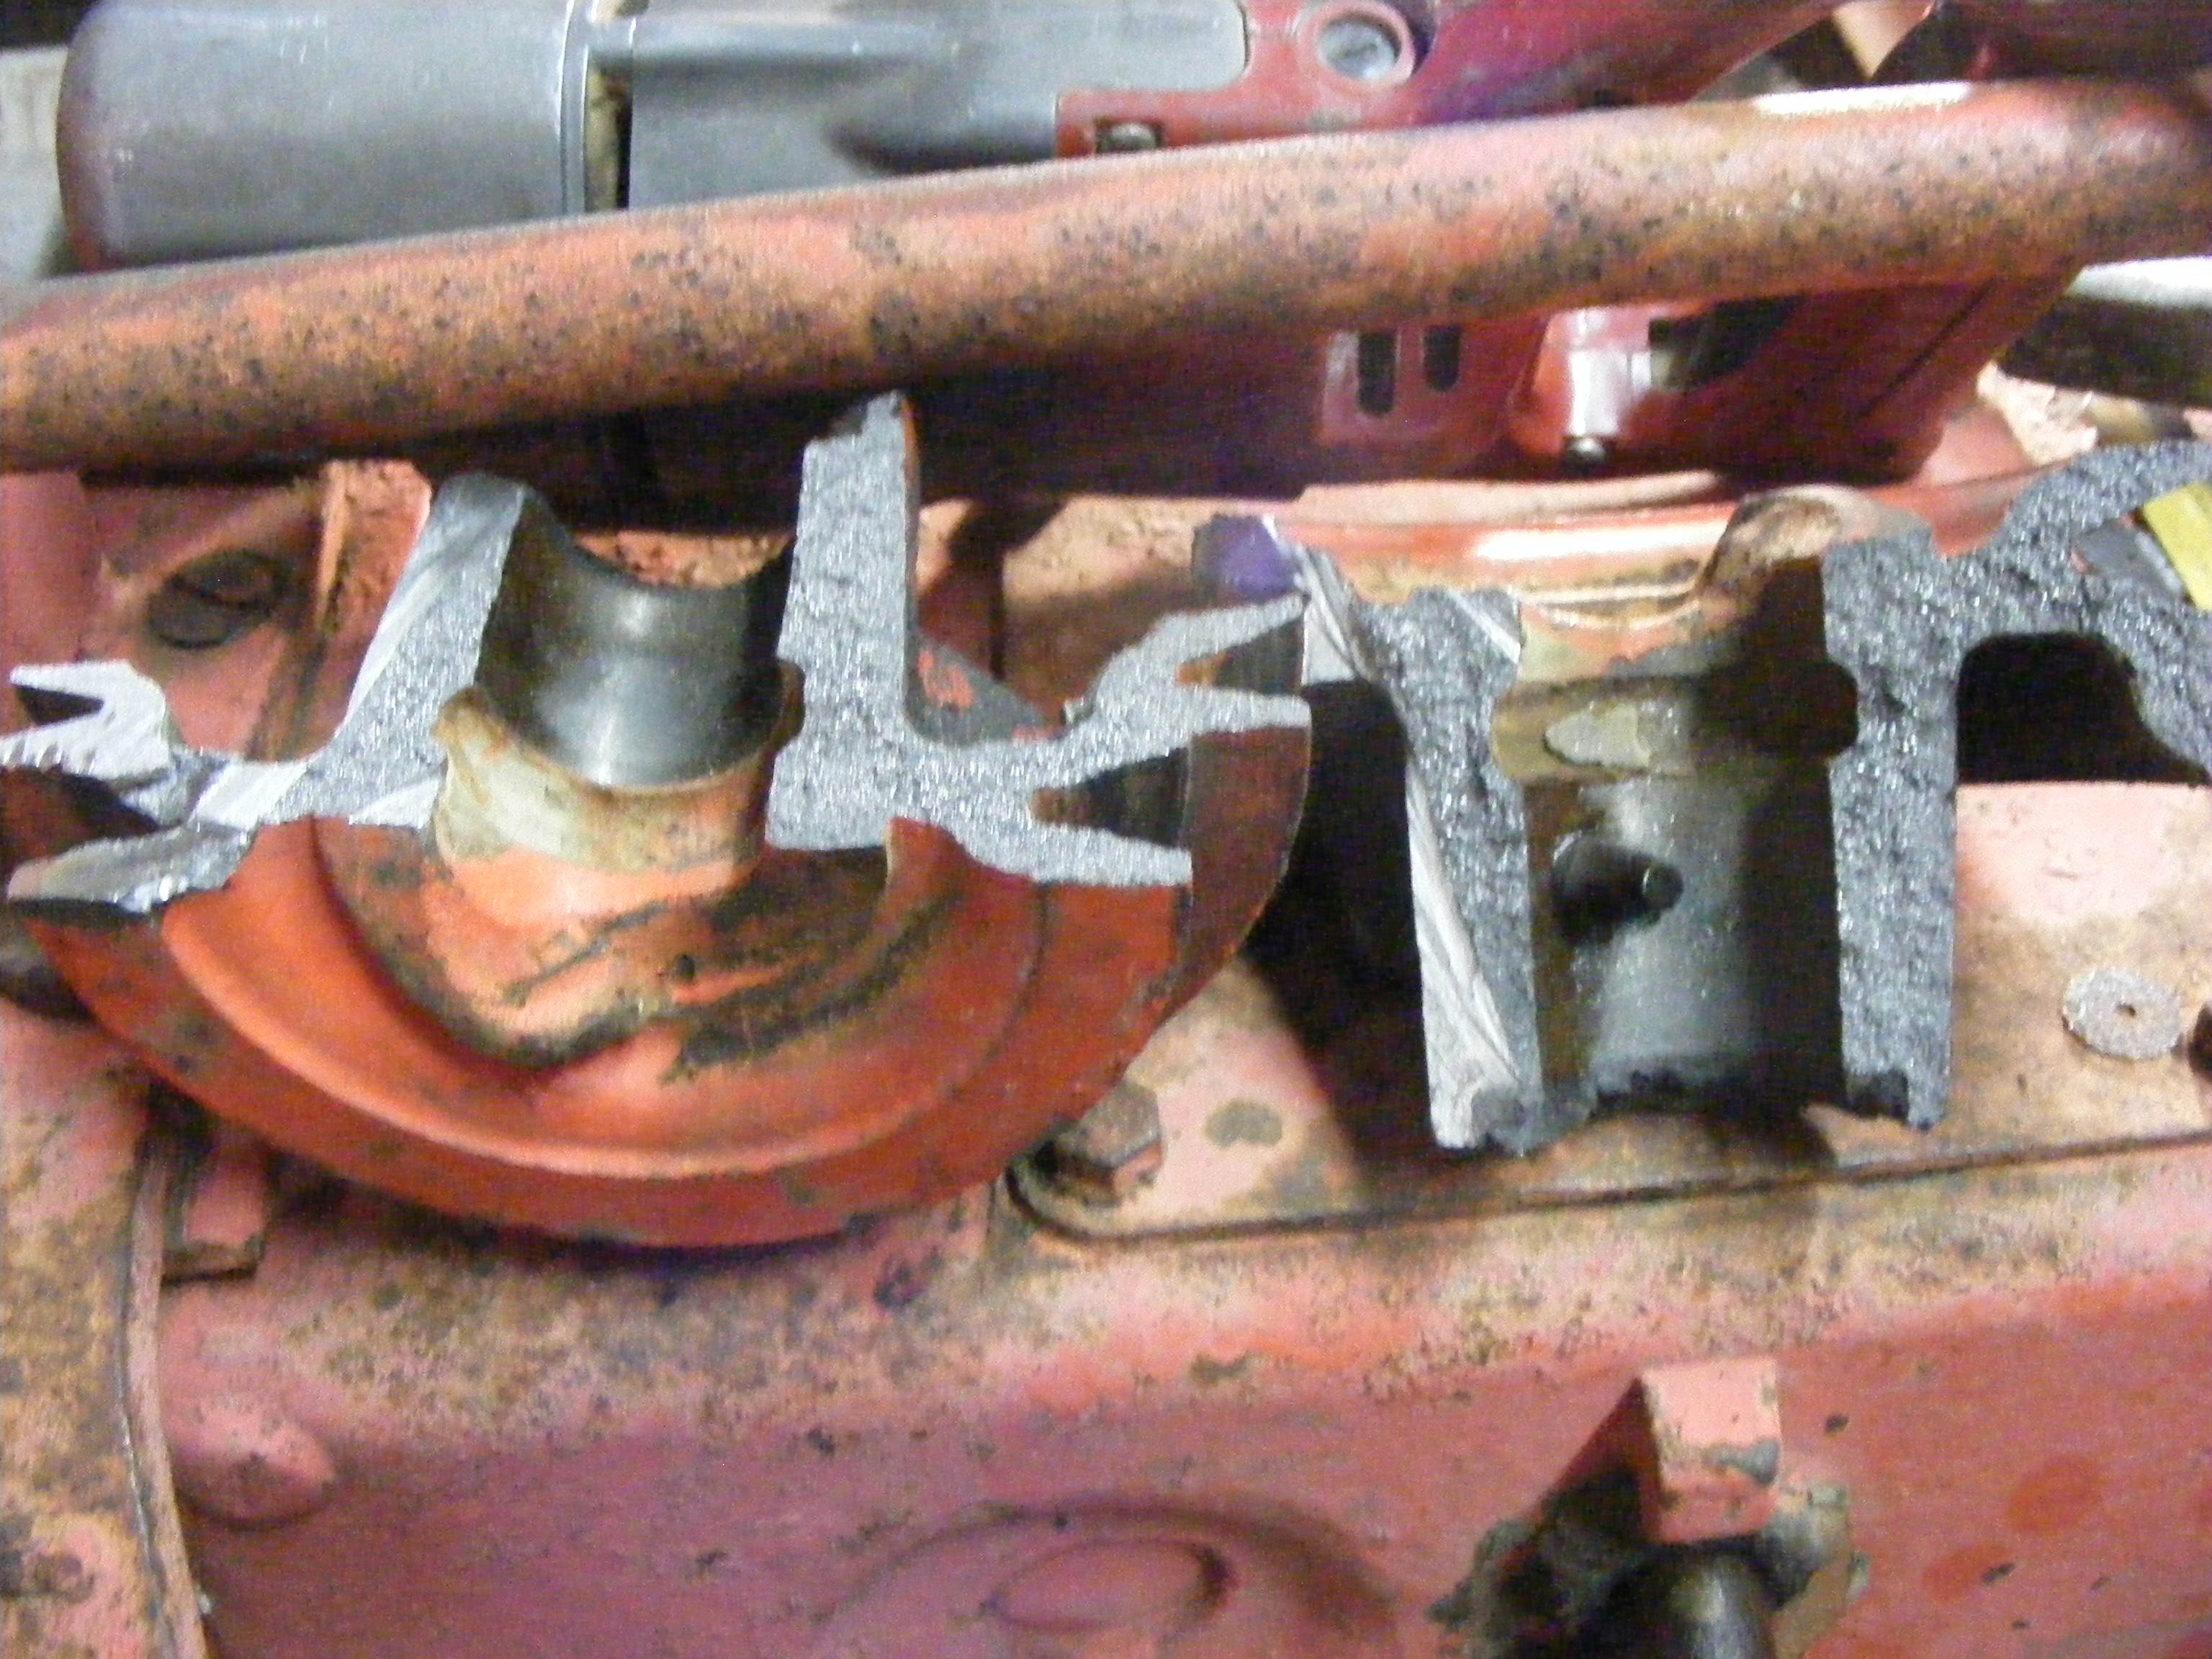
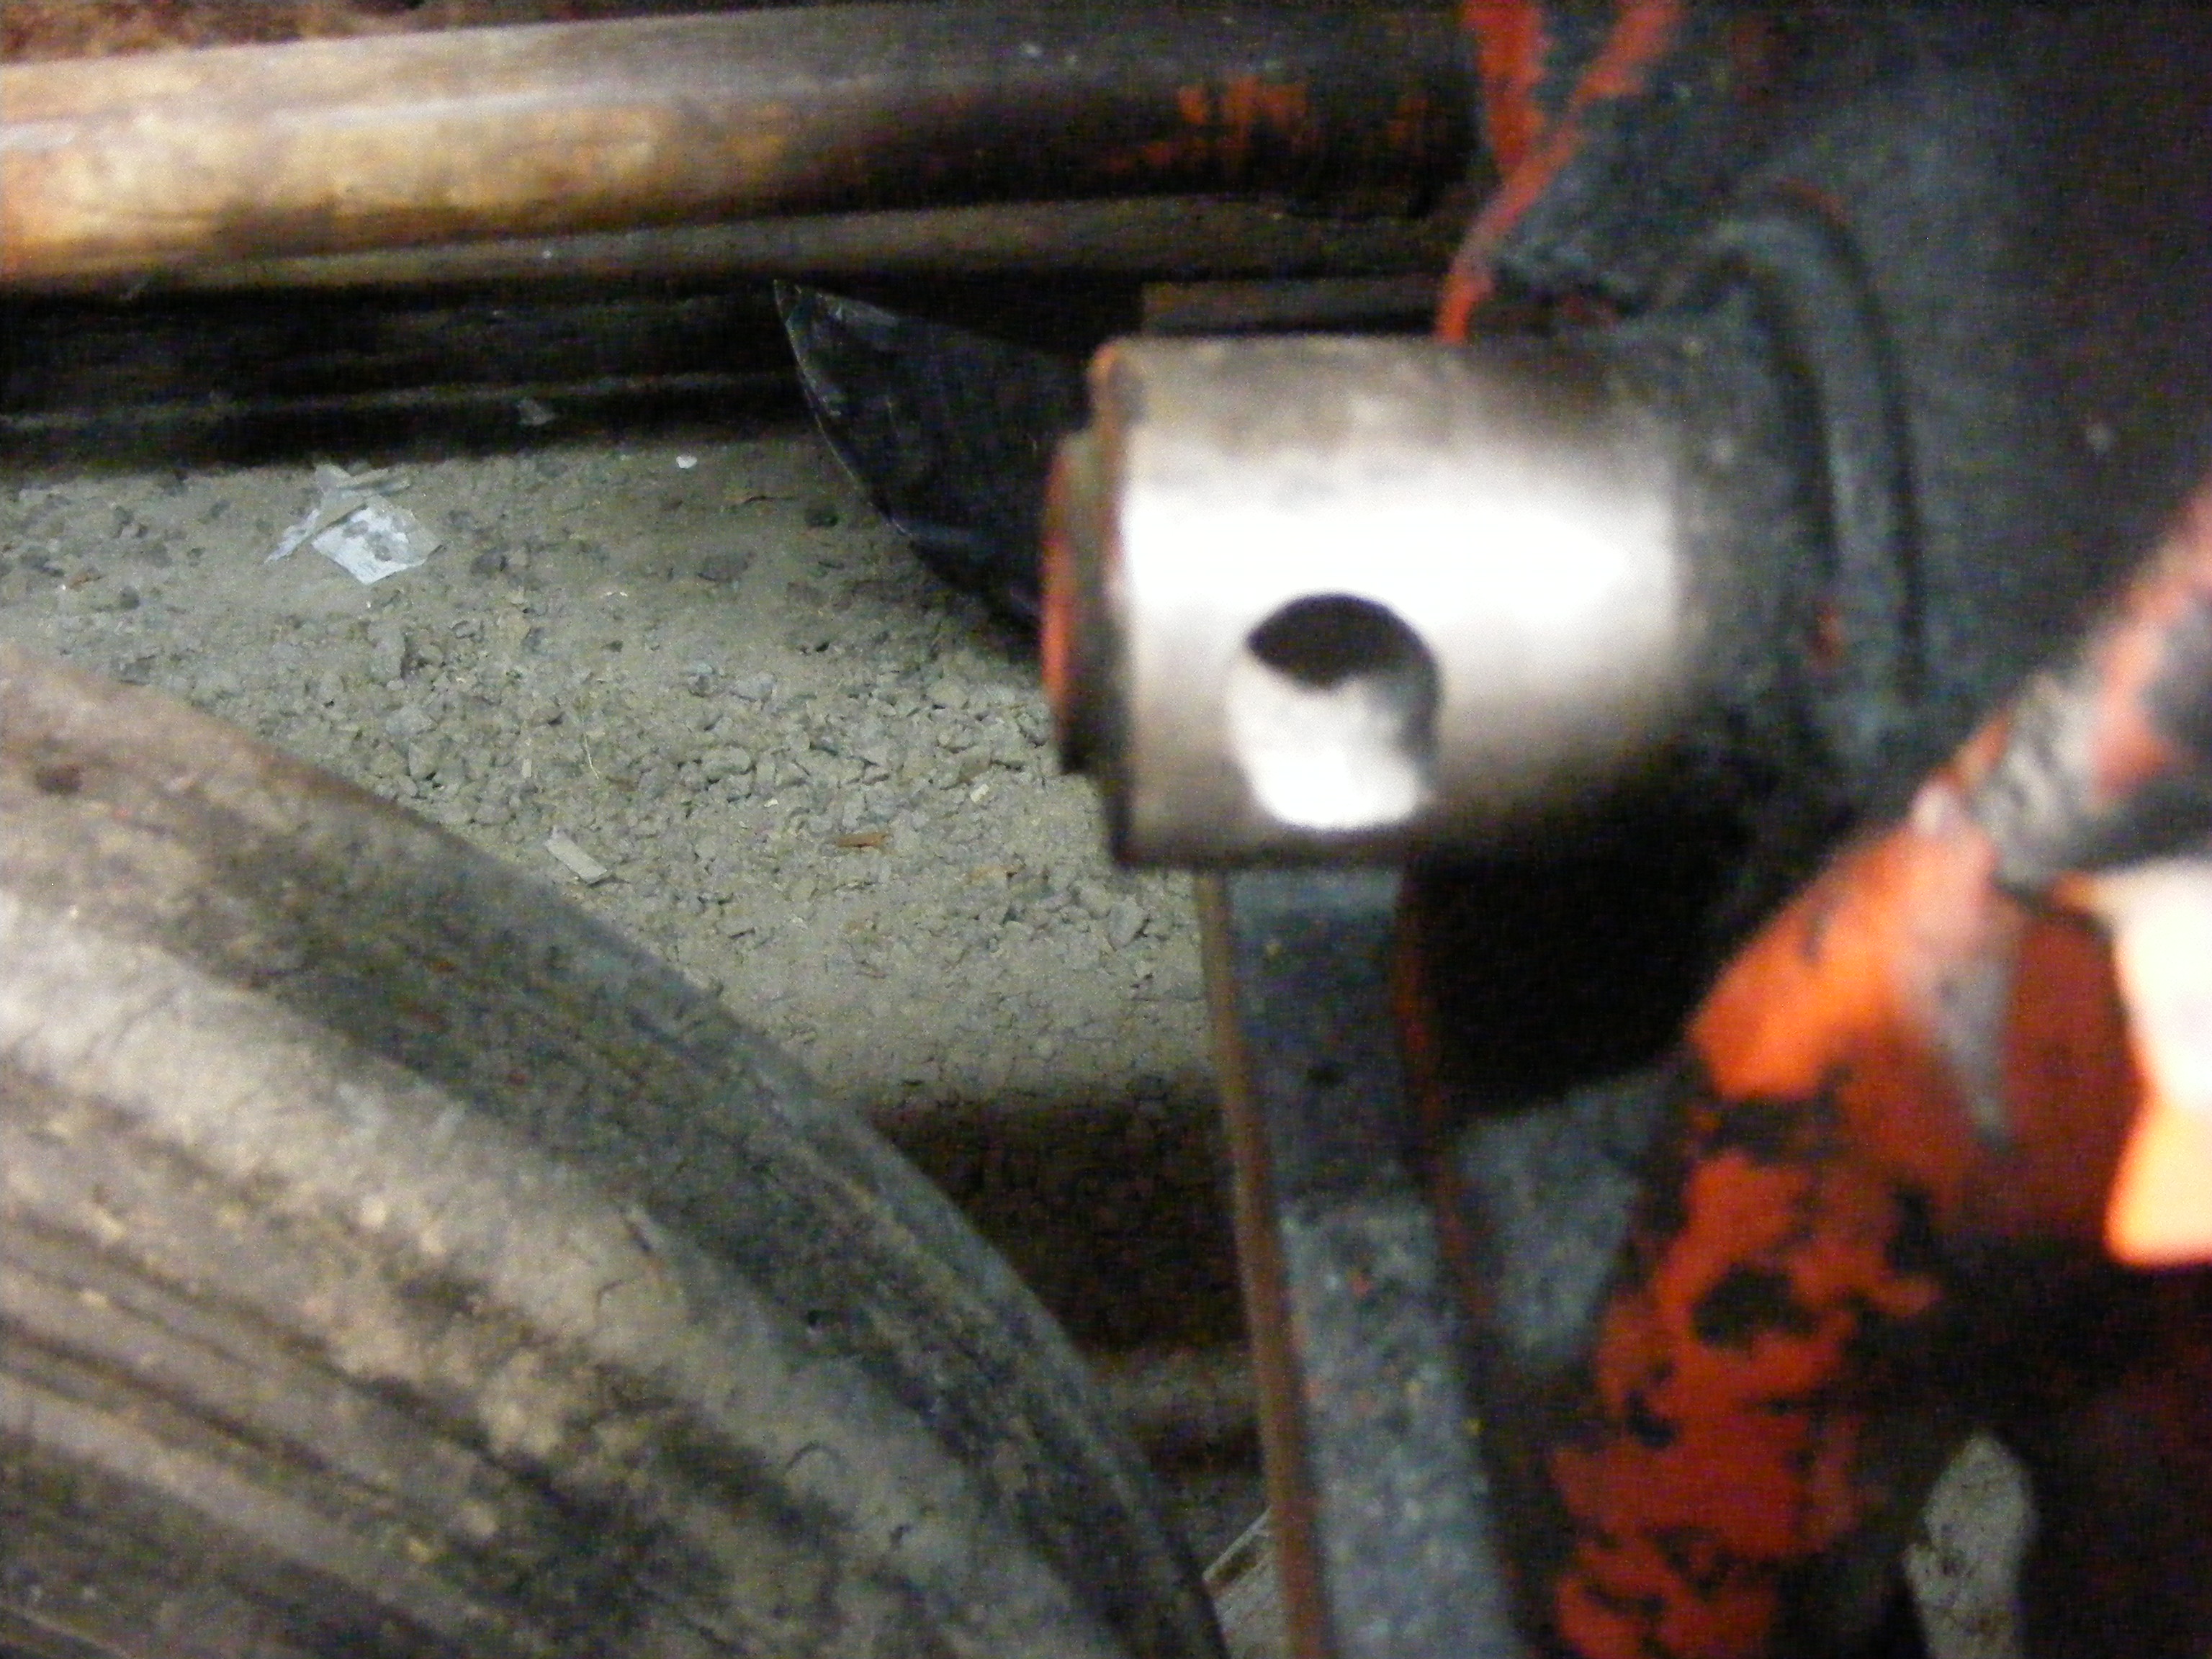
Finally got the pully off tonight. My BIL who is a mechanic came over and with my Porter Cable and Milwaukee Sawzalls cut a slot in the top of the pulley enough to drive a chisel down into it and darned if he didn't split that pulley in half. As I had said before I had drilled as far as I could. After getting the pulley off I can see where I had drilled into the cranl. It appears though that it did not hurt the hole for the bolt enought to worry about it. I do see a lot of shavings and saw (cast) dust in the hole in the crank. I am going to use a small powerful vaccum to suck the shavings and dust out. I am afraid if I used air it would push it into the crank and possibly out into the bearings. I will try to post some pics of the finished product. Thanks for all you help and if you have any other suggestions for me feel free to say so. thanks again.  
|
 |


 Topic Options

 Post Options
 Thanks(0)


